

Ok well – it was a great first camping maiden voyage with the scamp.
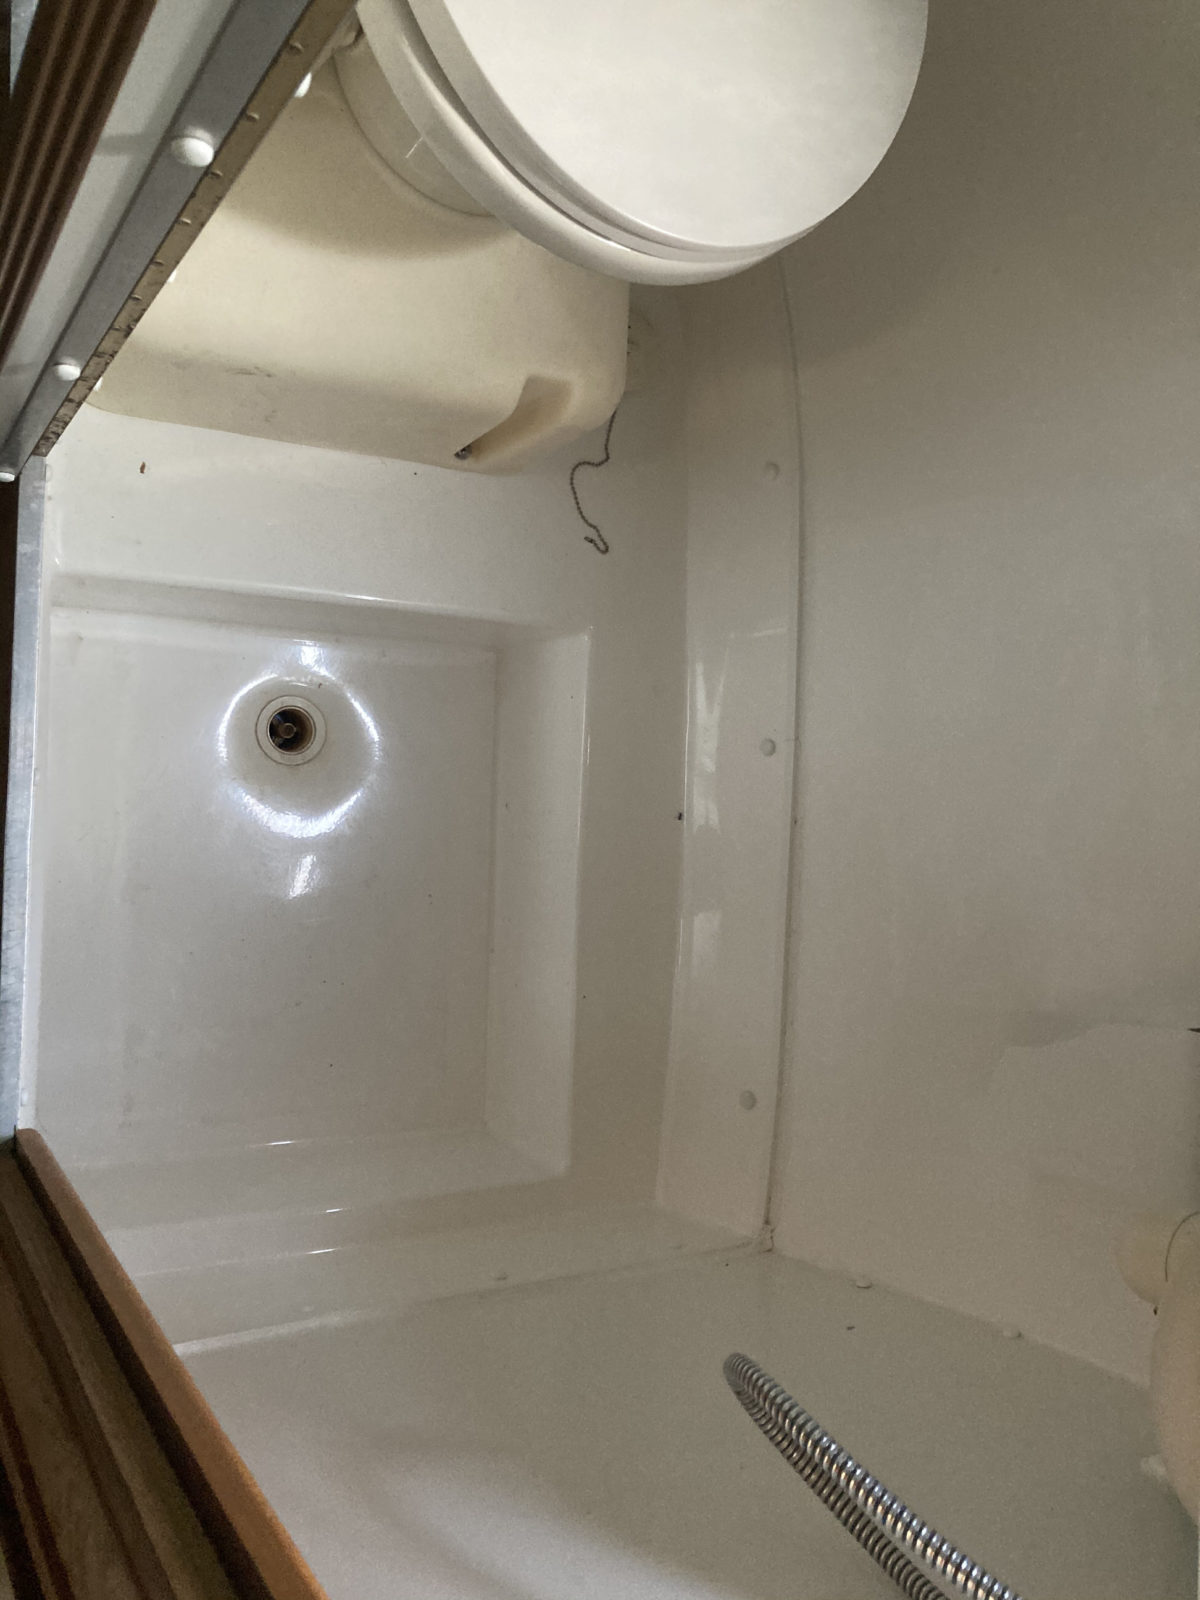
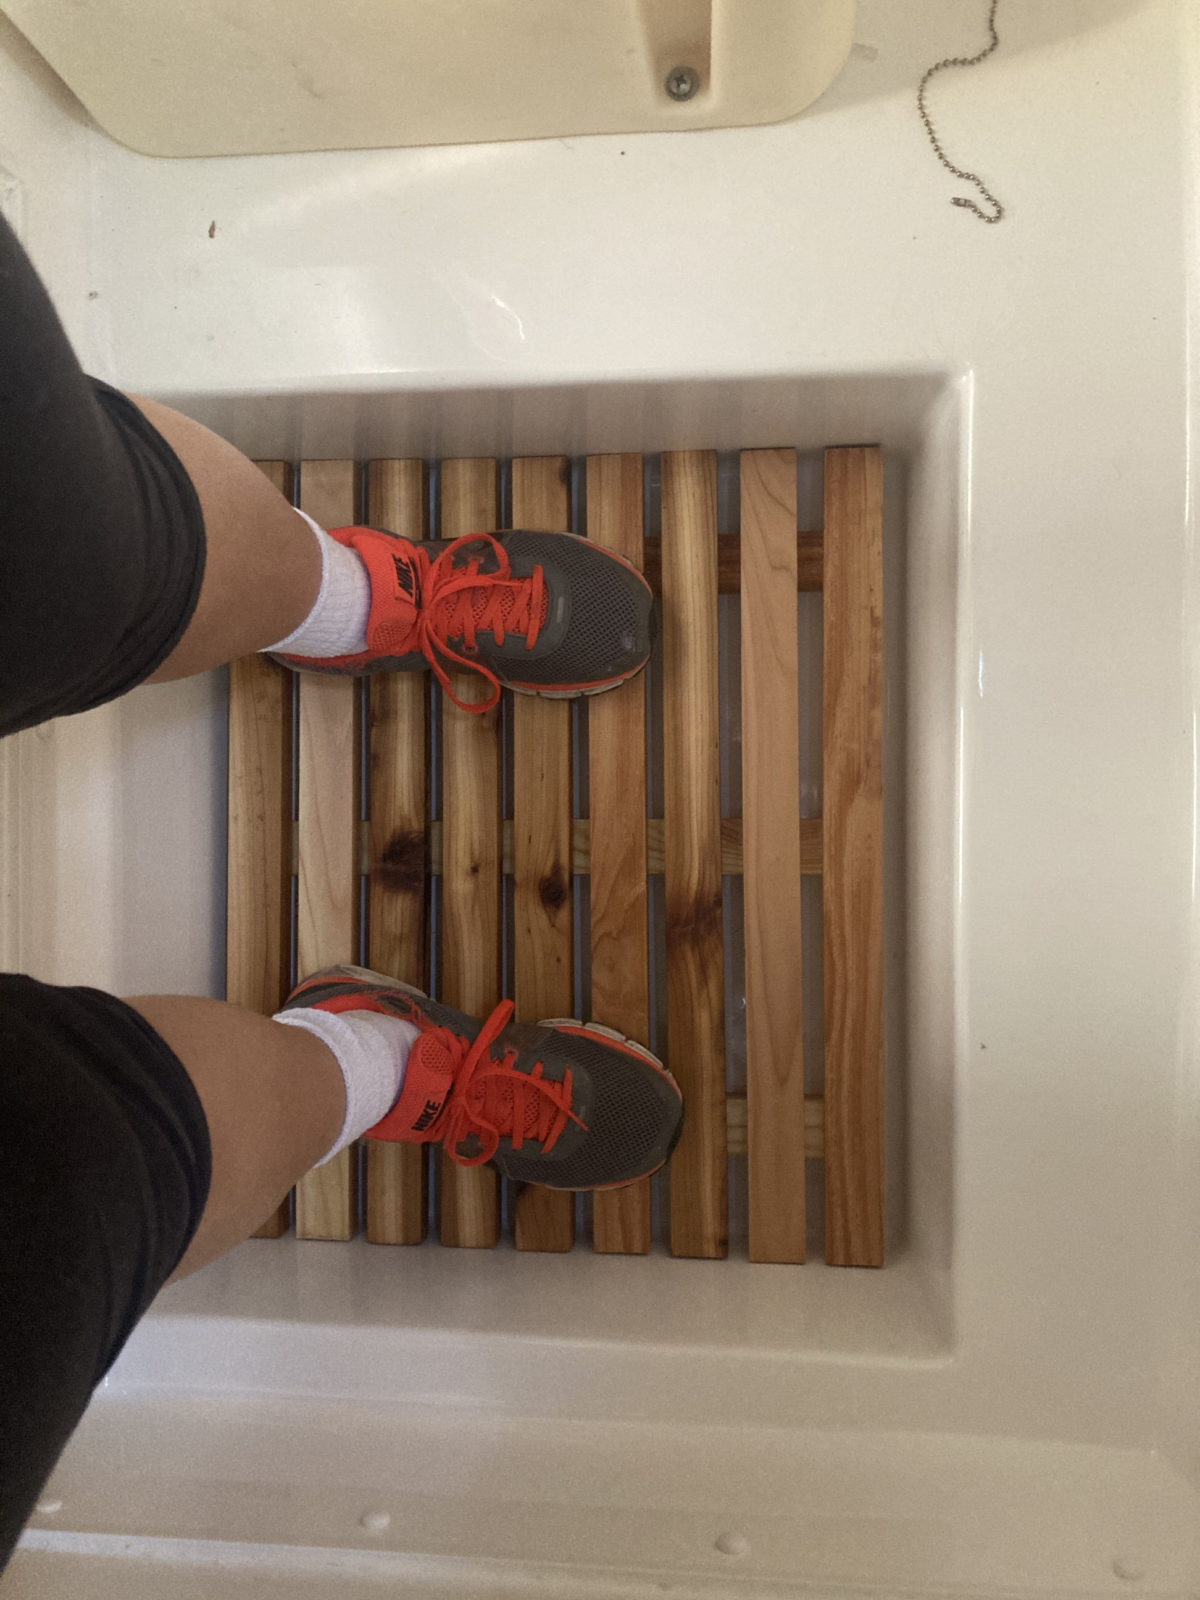
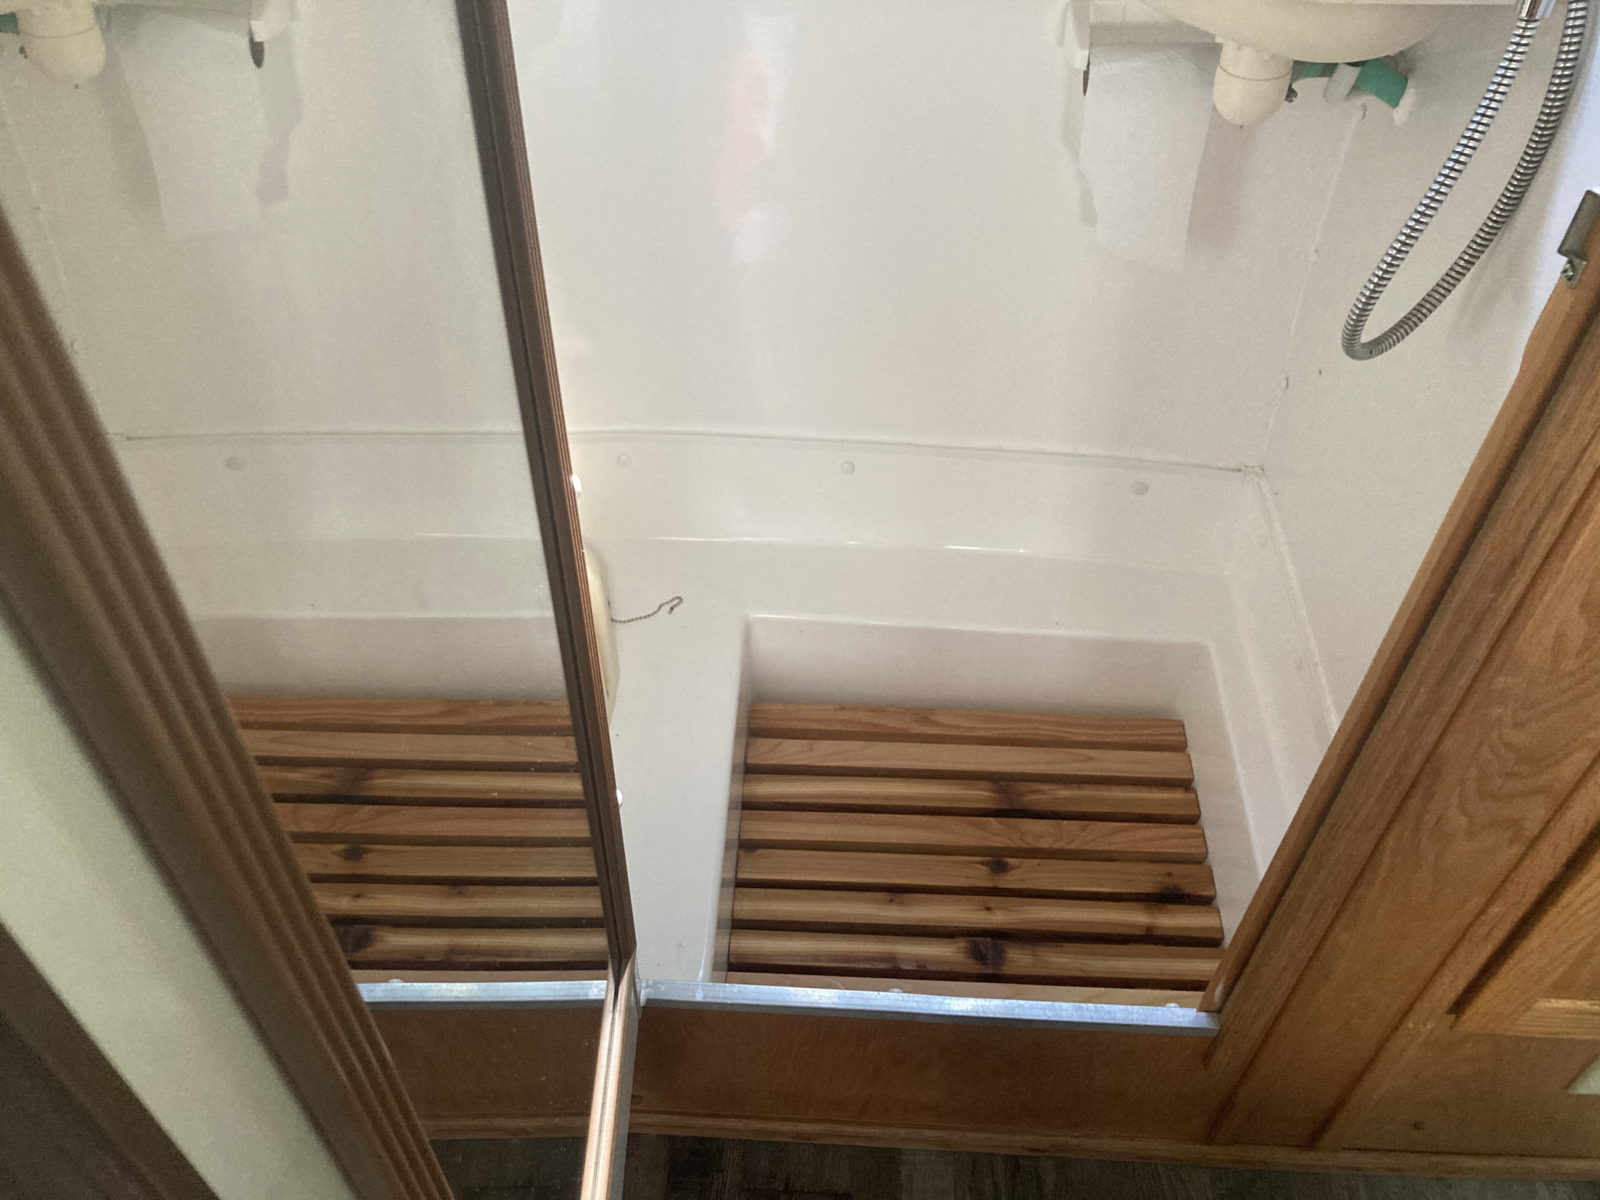
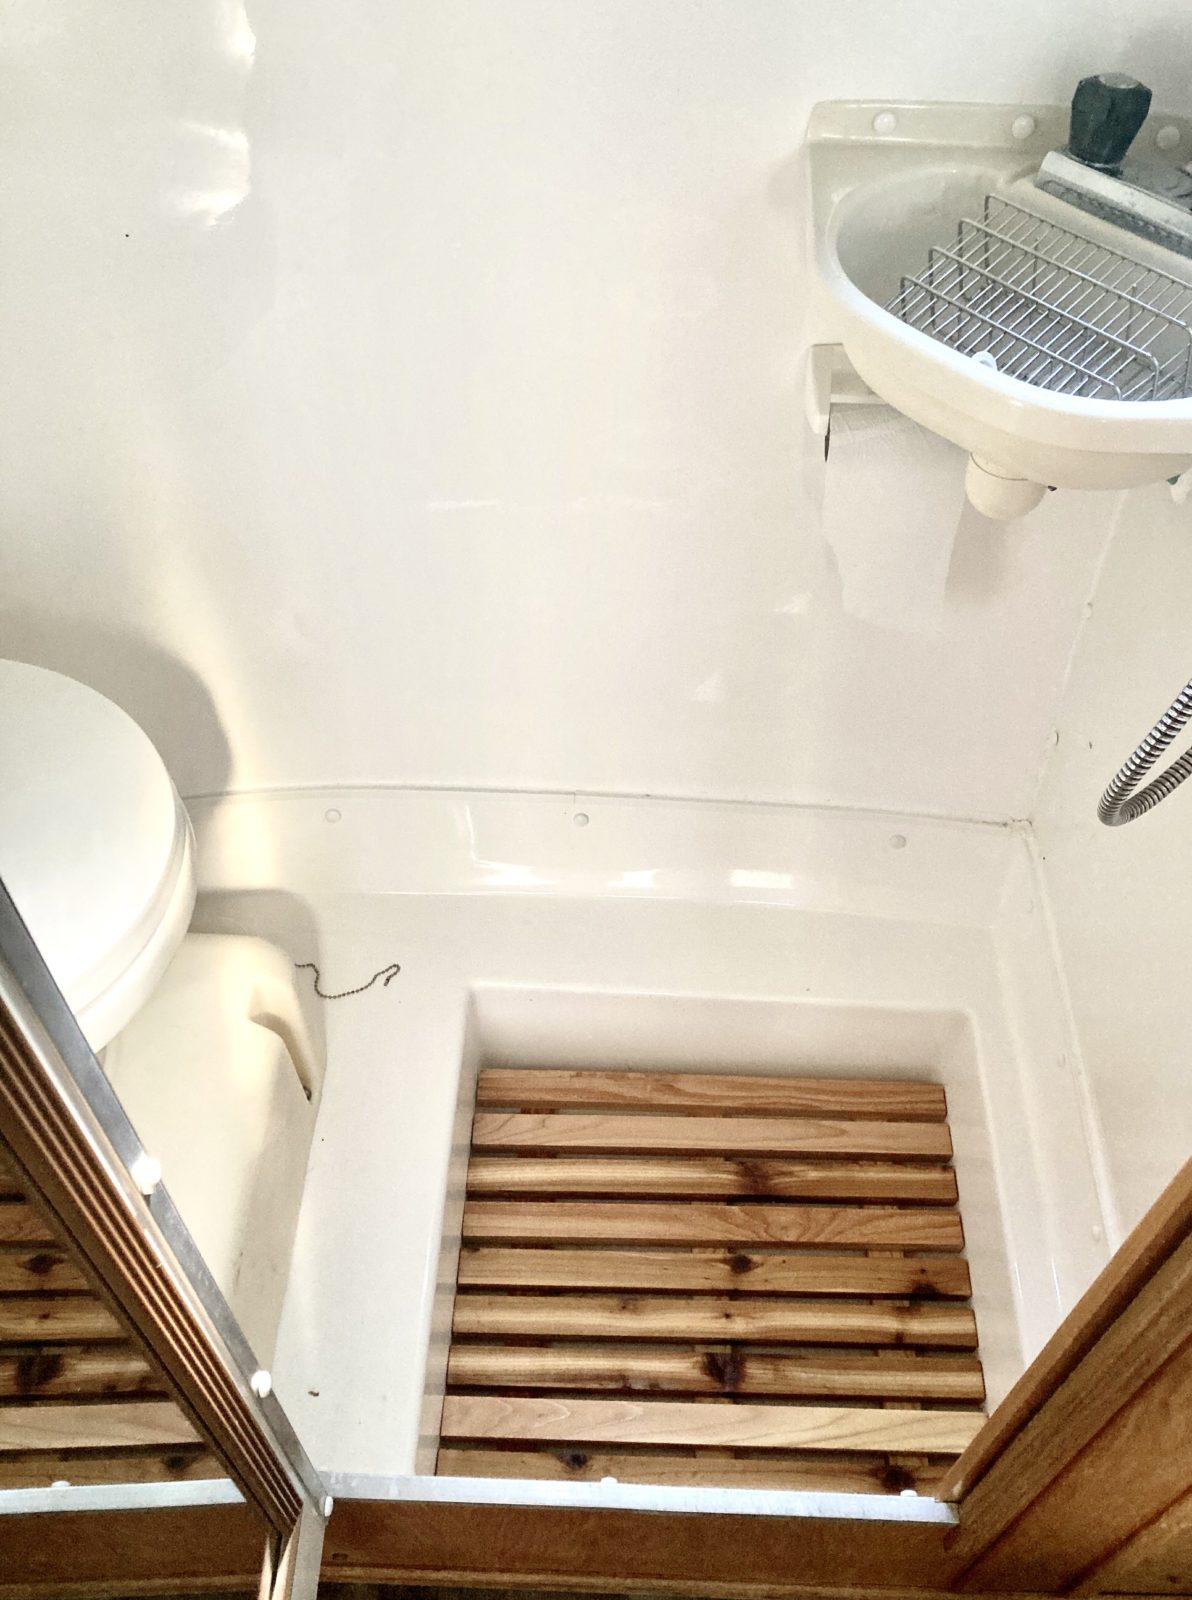
One of the things we decided had to be addressed right away was that in the wet bath. This is a shower area and toilet combined the shower box and it was always getting little dirty feet prints in it which made if very unappealing to go to the bathroom the million times a day I frequent the area.
I had previously seen these little wooden shower mats via Pinterest and other scamp bathroom images so I wanted to buy one; however, I wasn’t finding any that were the perfect size and they were all at least $50. So, I decided to DIY and see how it went. The results were pretty great!
I found different blogs on how to make cedar shower mats but after all was said and done I did it my own way:
Things you need:
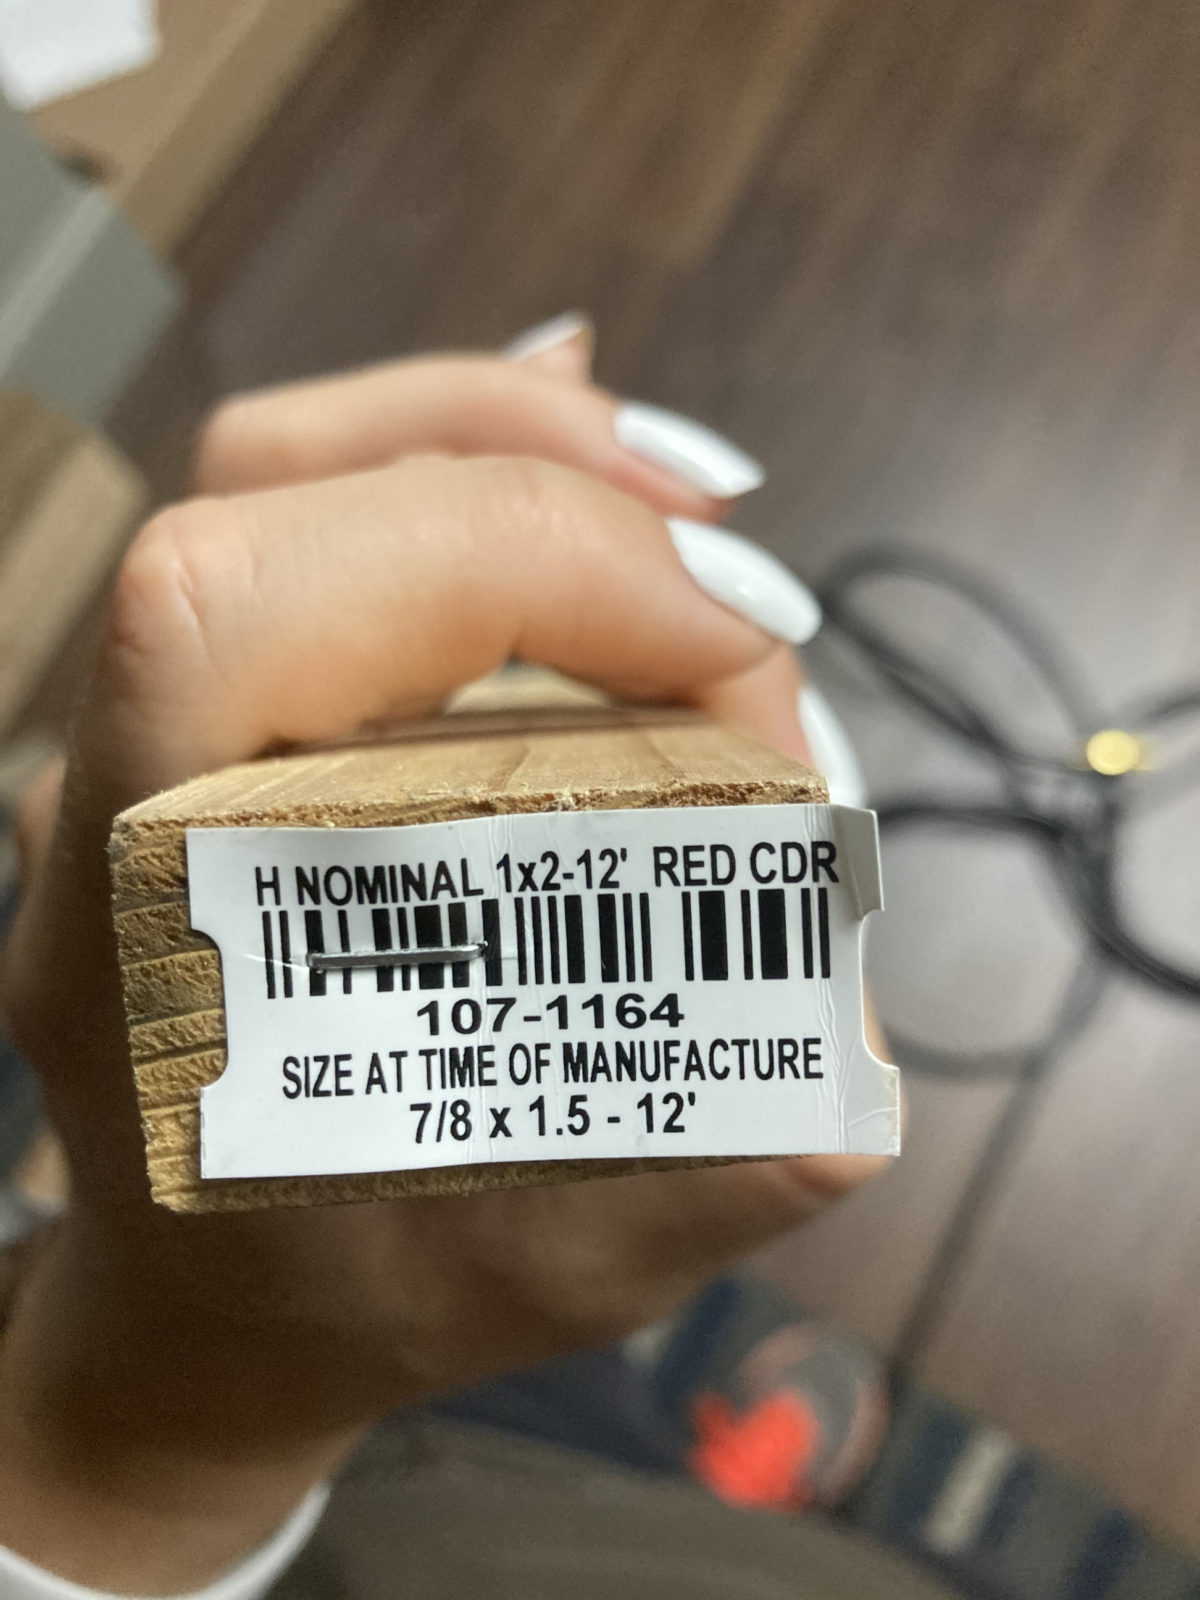
- Two planks from the hardware store (Menards)
- Cedar 7/8×1.5×12’
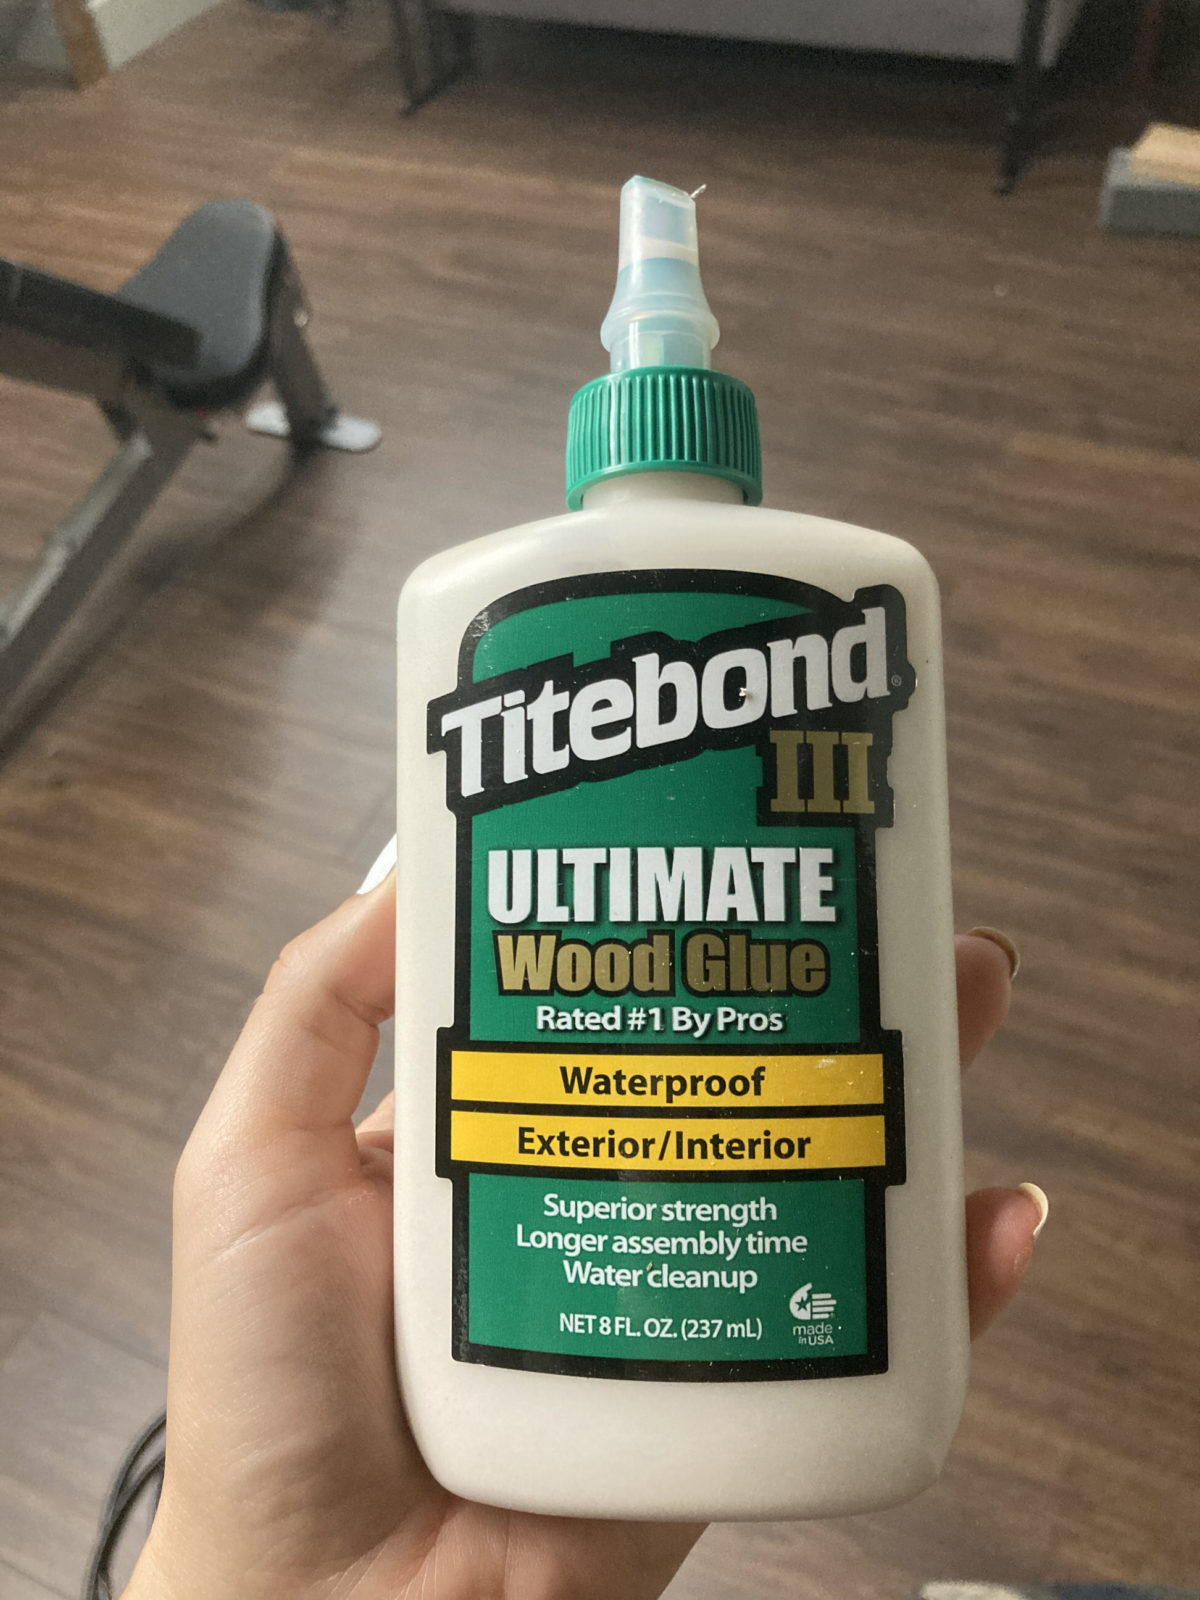
- Wood glue
- Sandpaper
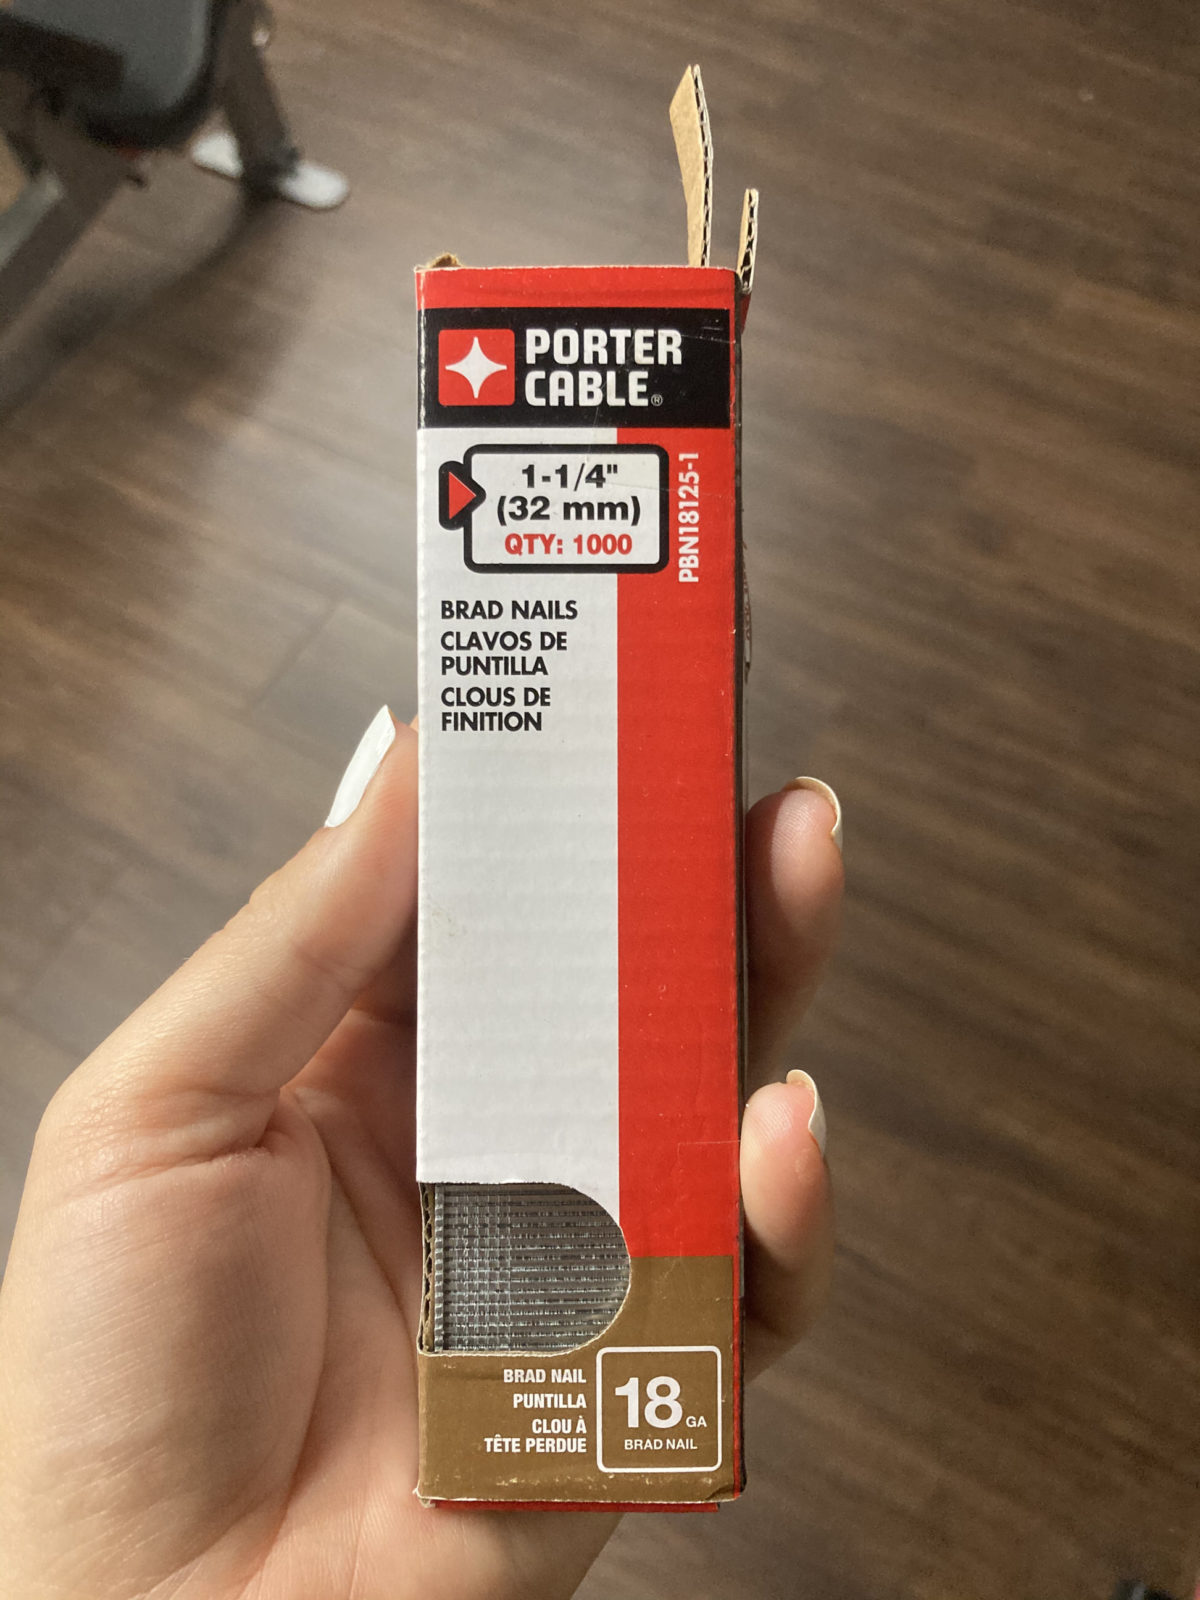
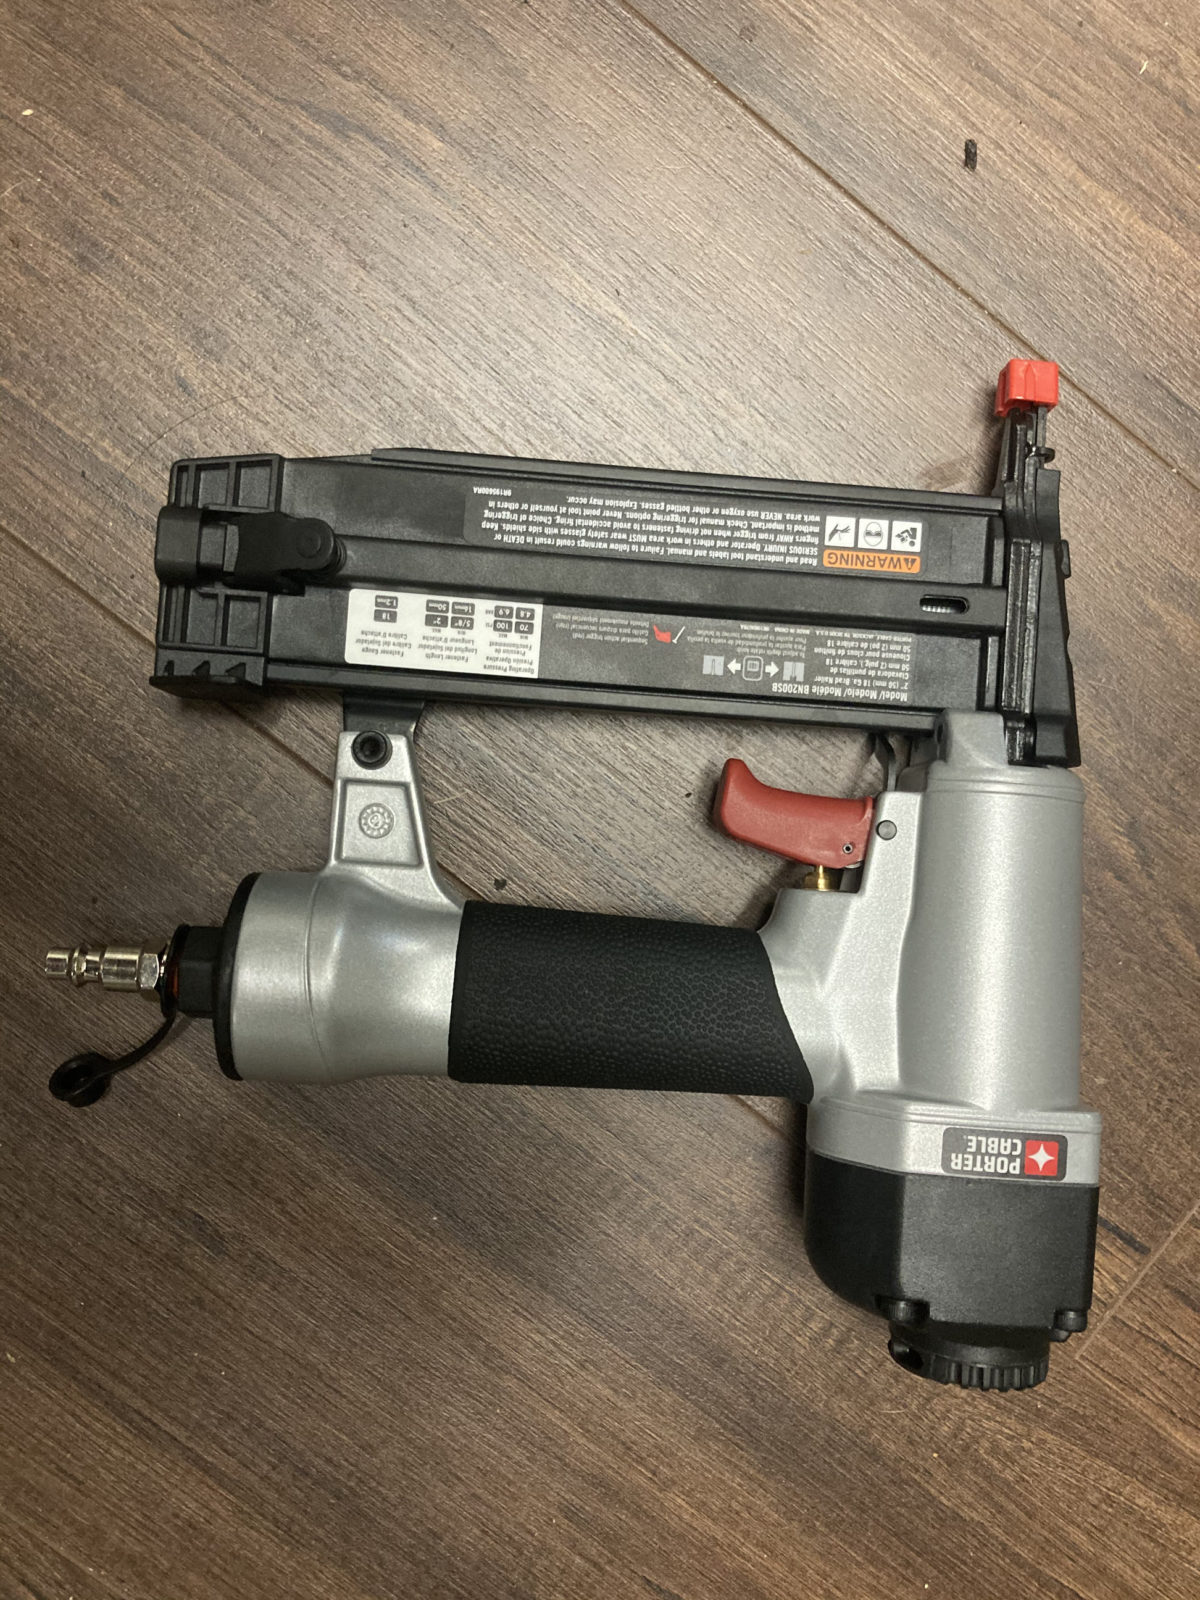
- Tiny nails approx 1 ¼ long
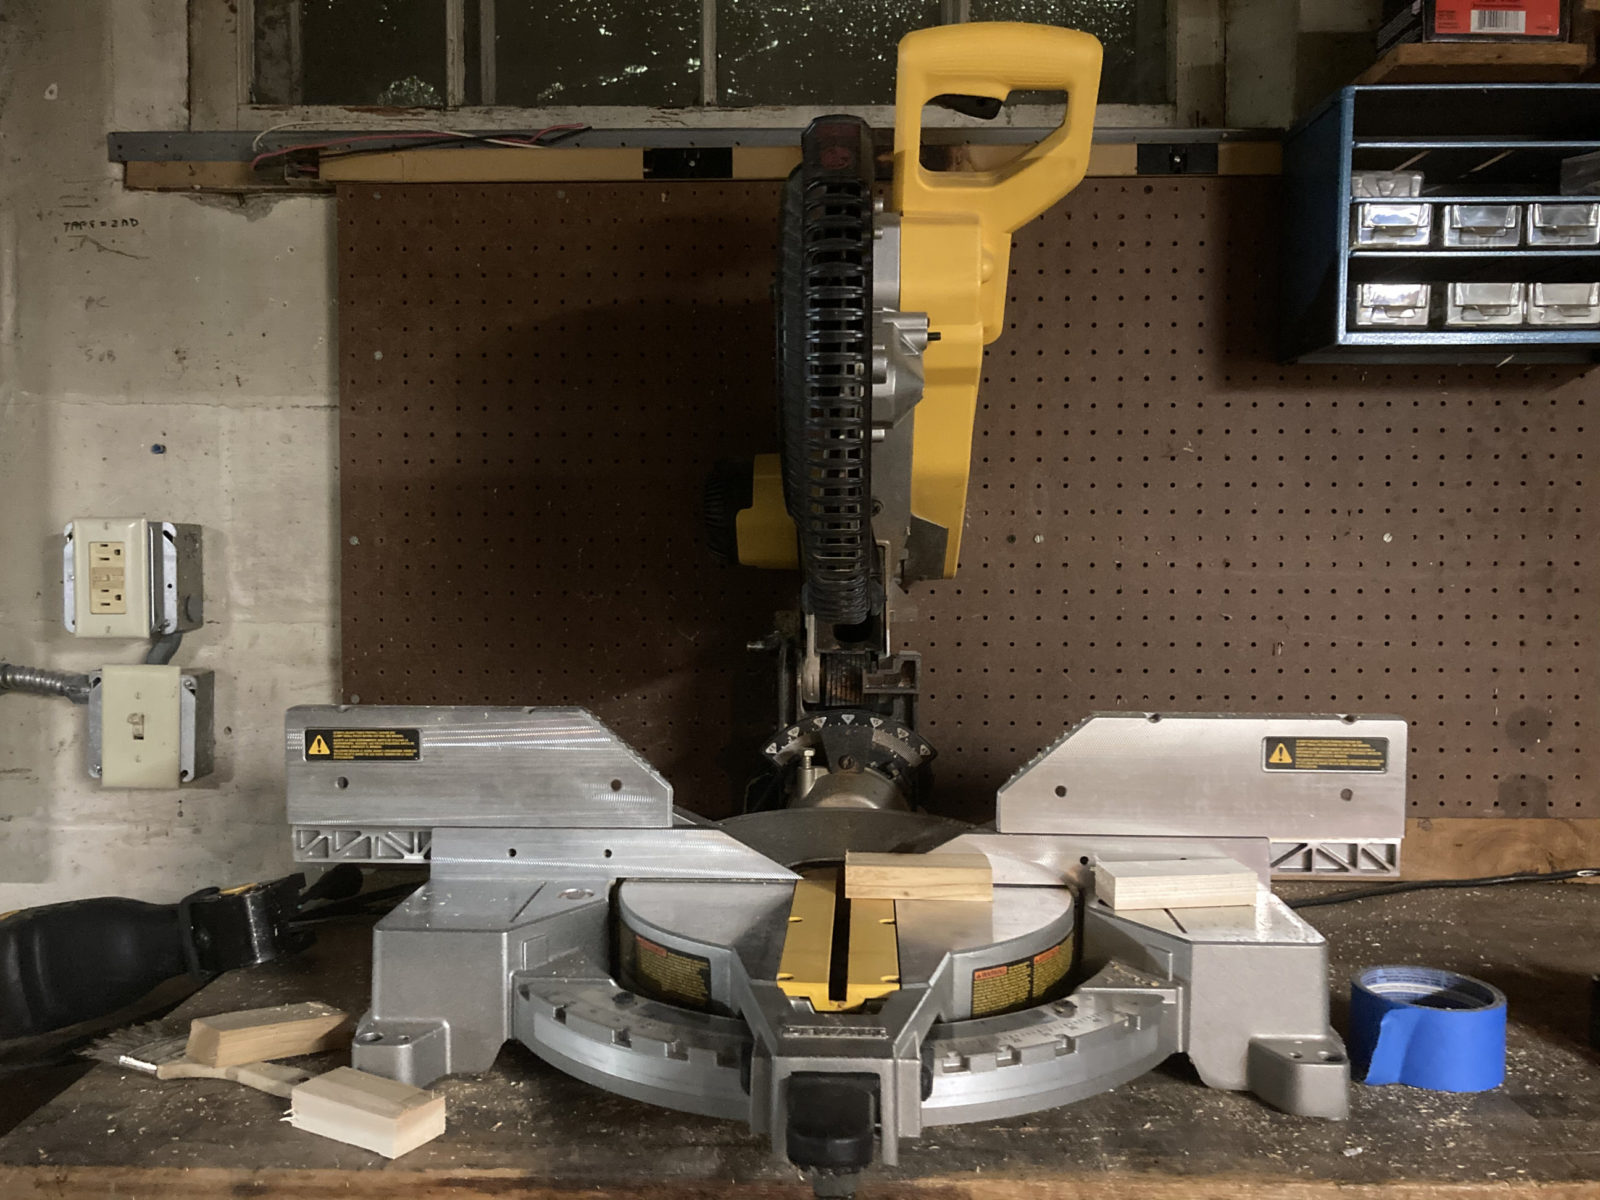
- Miter saw
- Teak oil
- Paintbrush
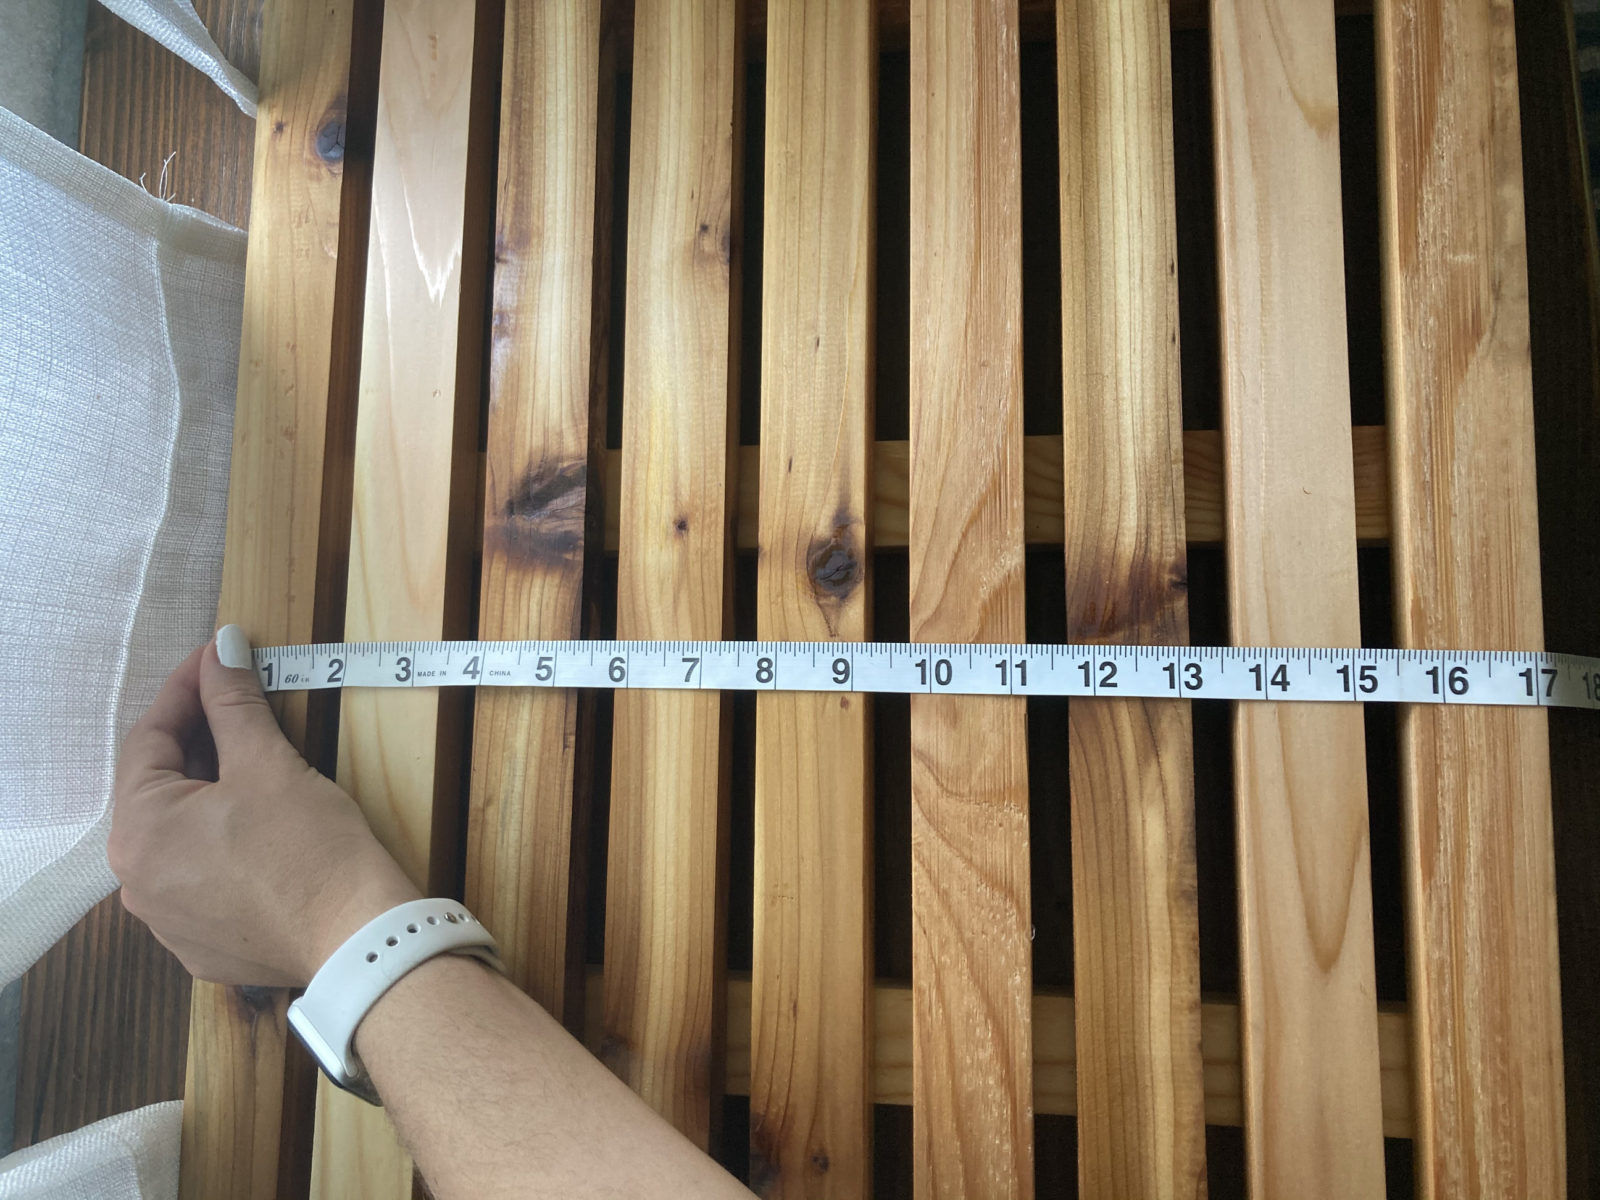
- Measuring tape
First I measured and figured that for my shower tub that 20.5″ works the best width wise. I wanted to account for the rounded curve of the edges and the fact that sometimes squares in things like shower boxes aren’t 100% perfect size all around.
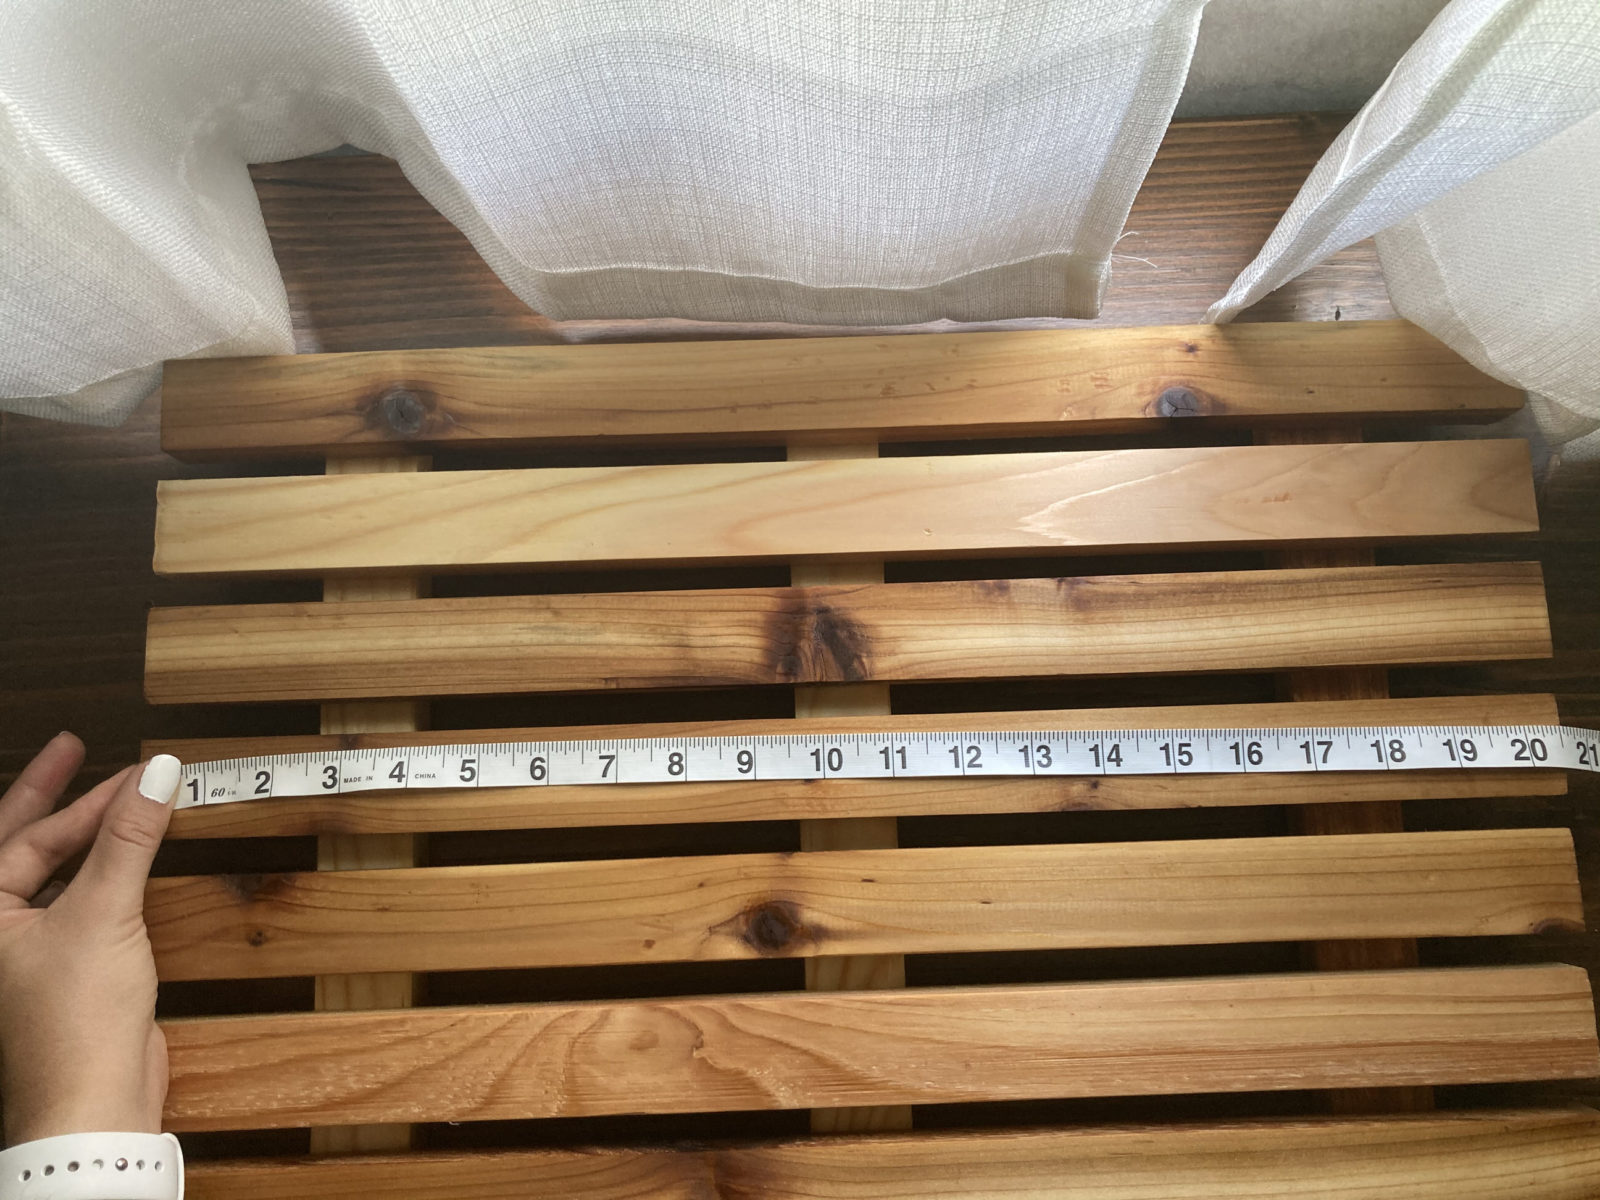
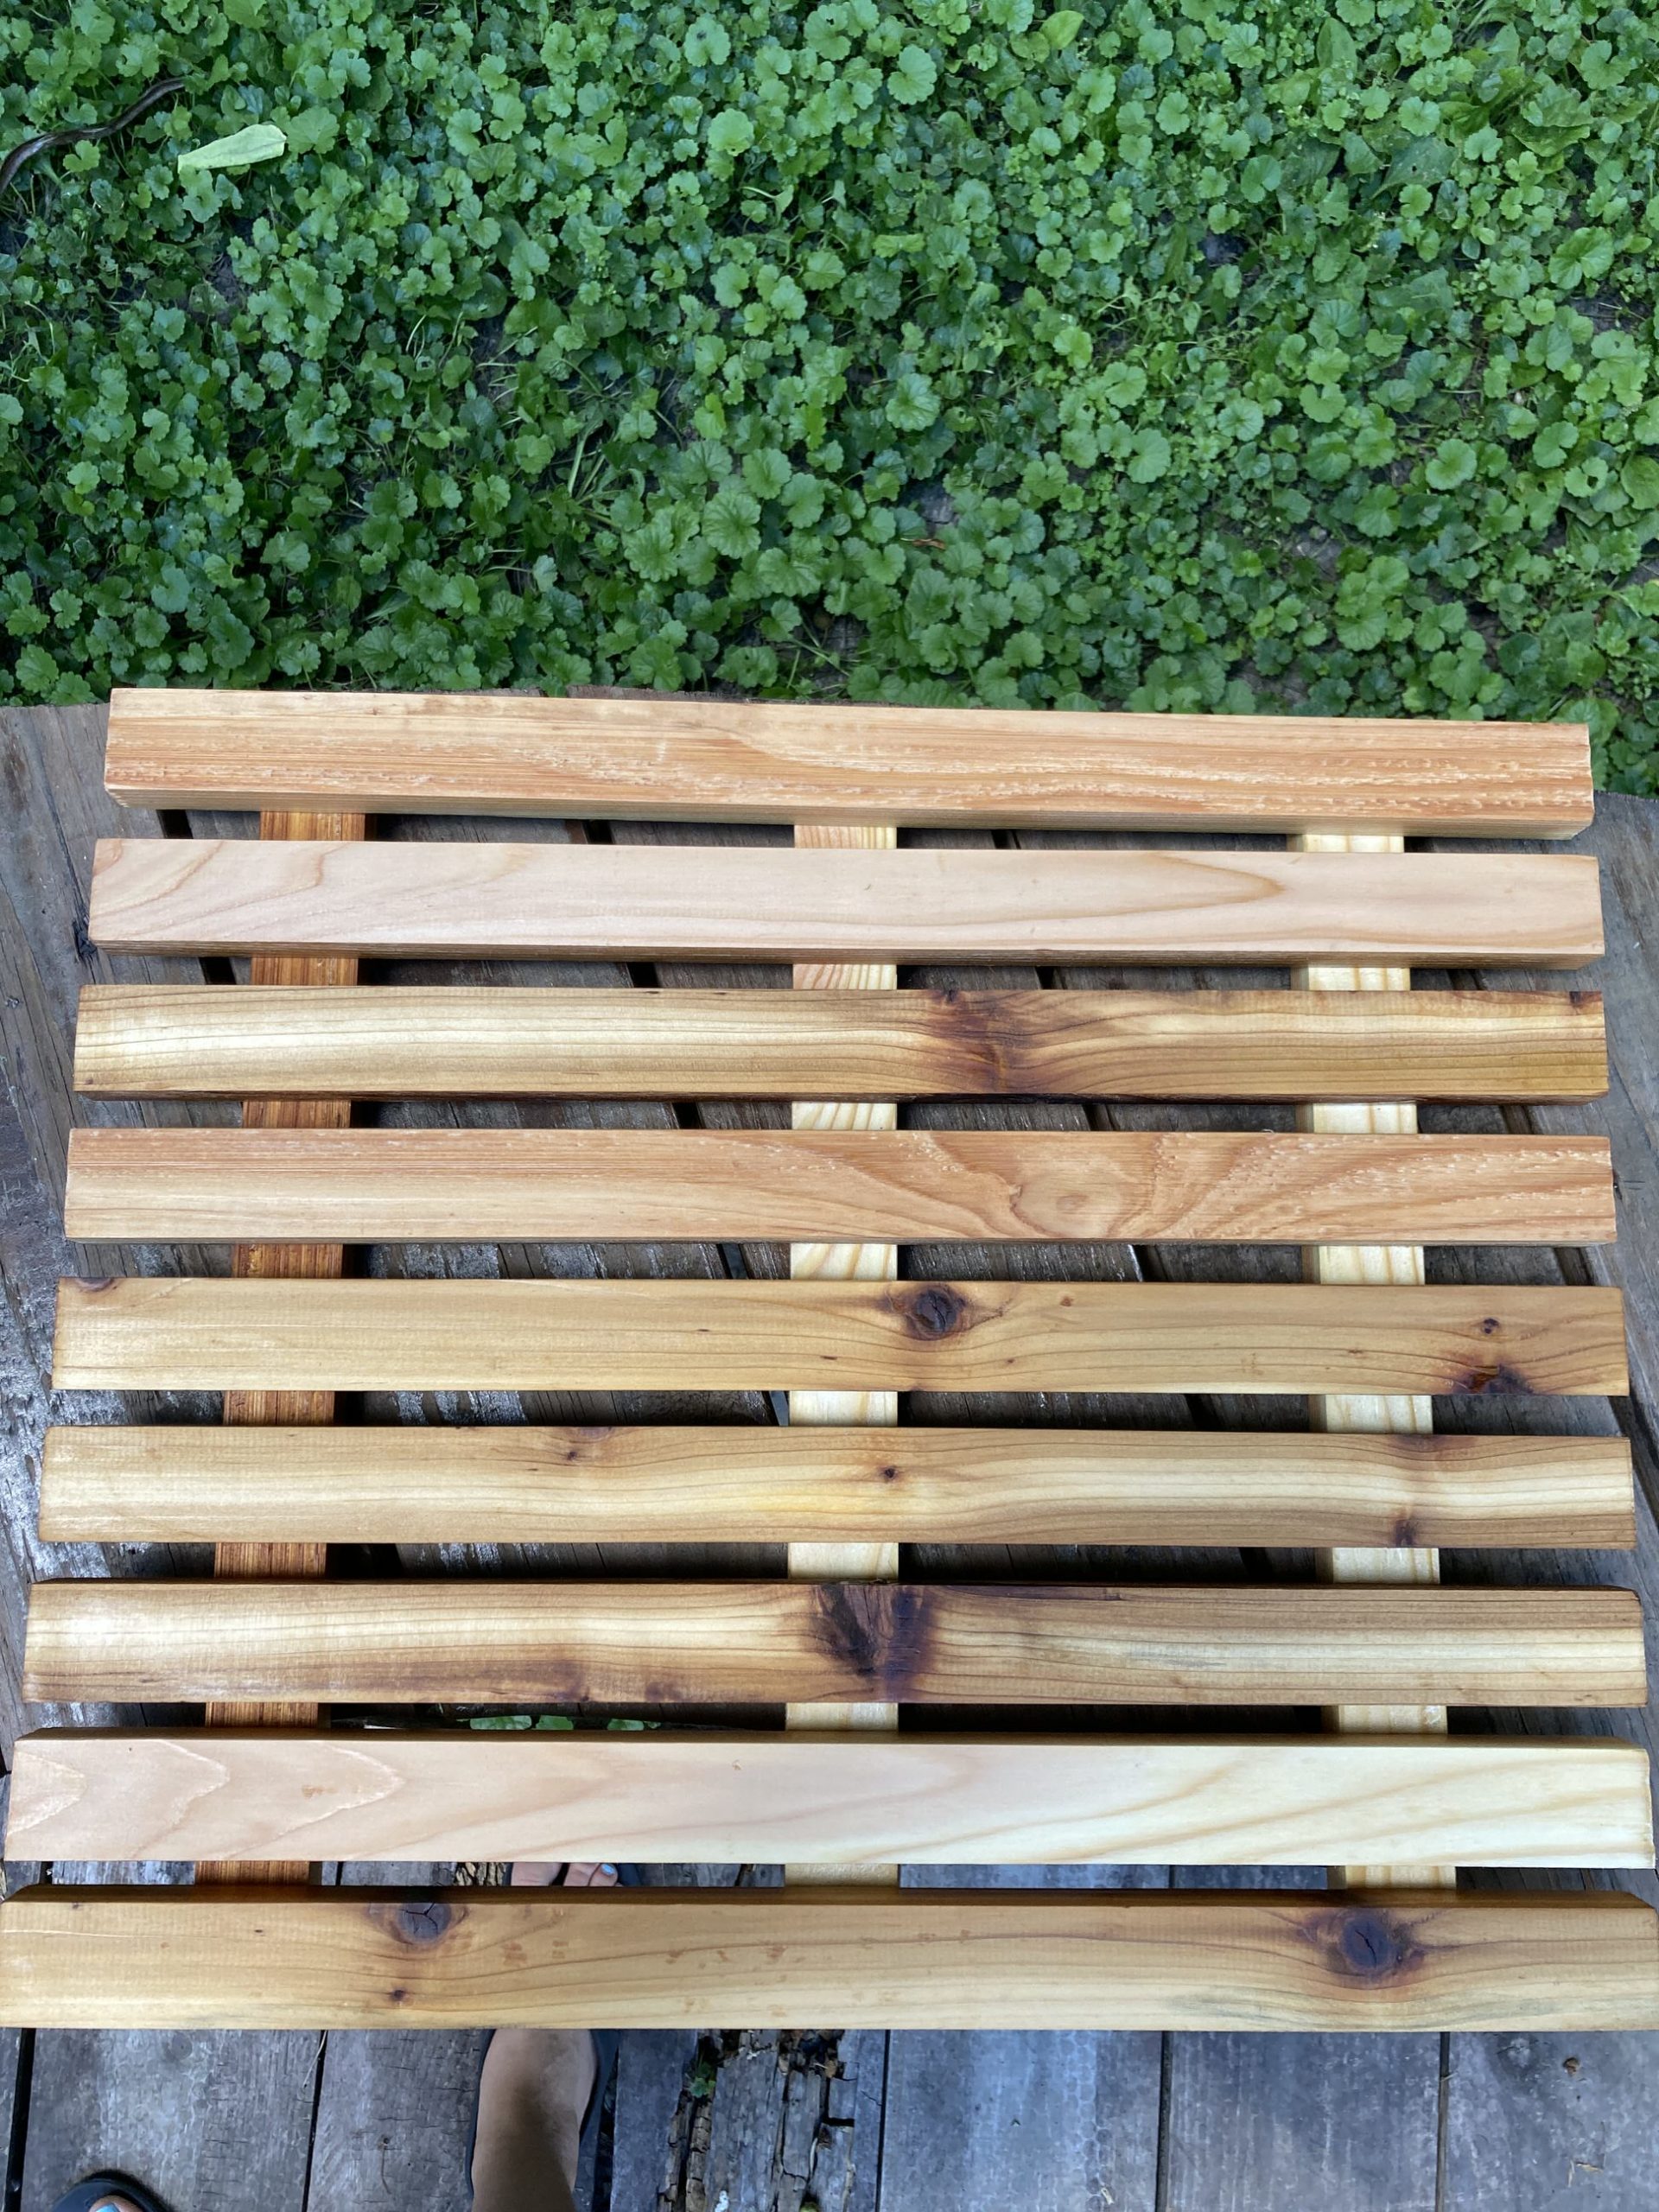
I then cut the long cedar pieces w miter saw 20.5” for each plank. Then placed 9 of them in the shower box to make sure they all fit with any warping inside the box etc. I ended up needing 9 planks to cover the area of the shower box at .5 inch spacing between each plank. I also needed 3 extra planks for the back/base cut slightly shorter.
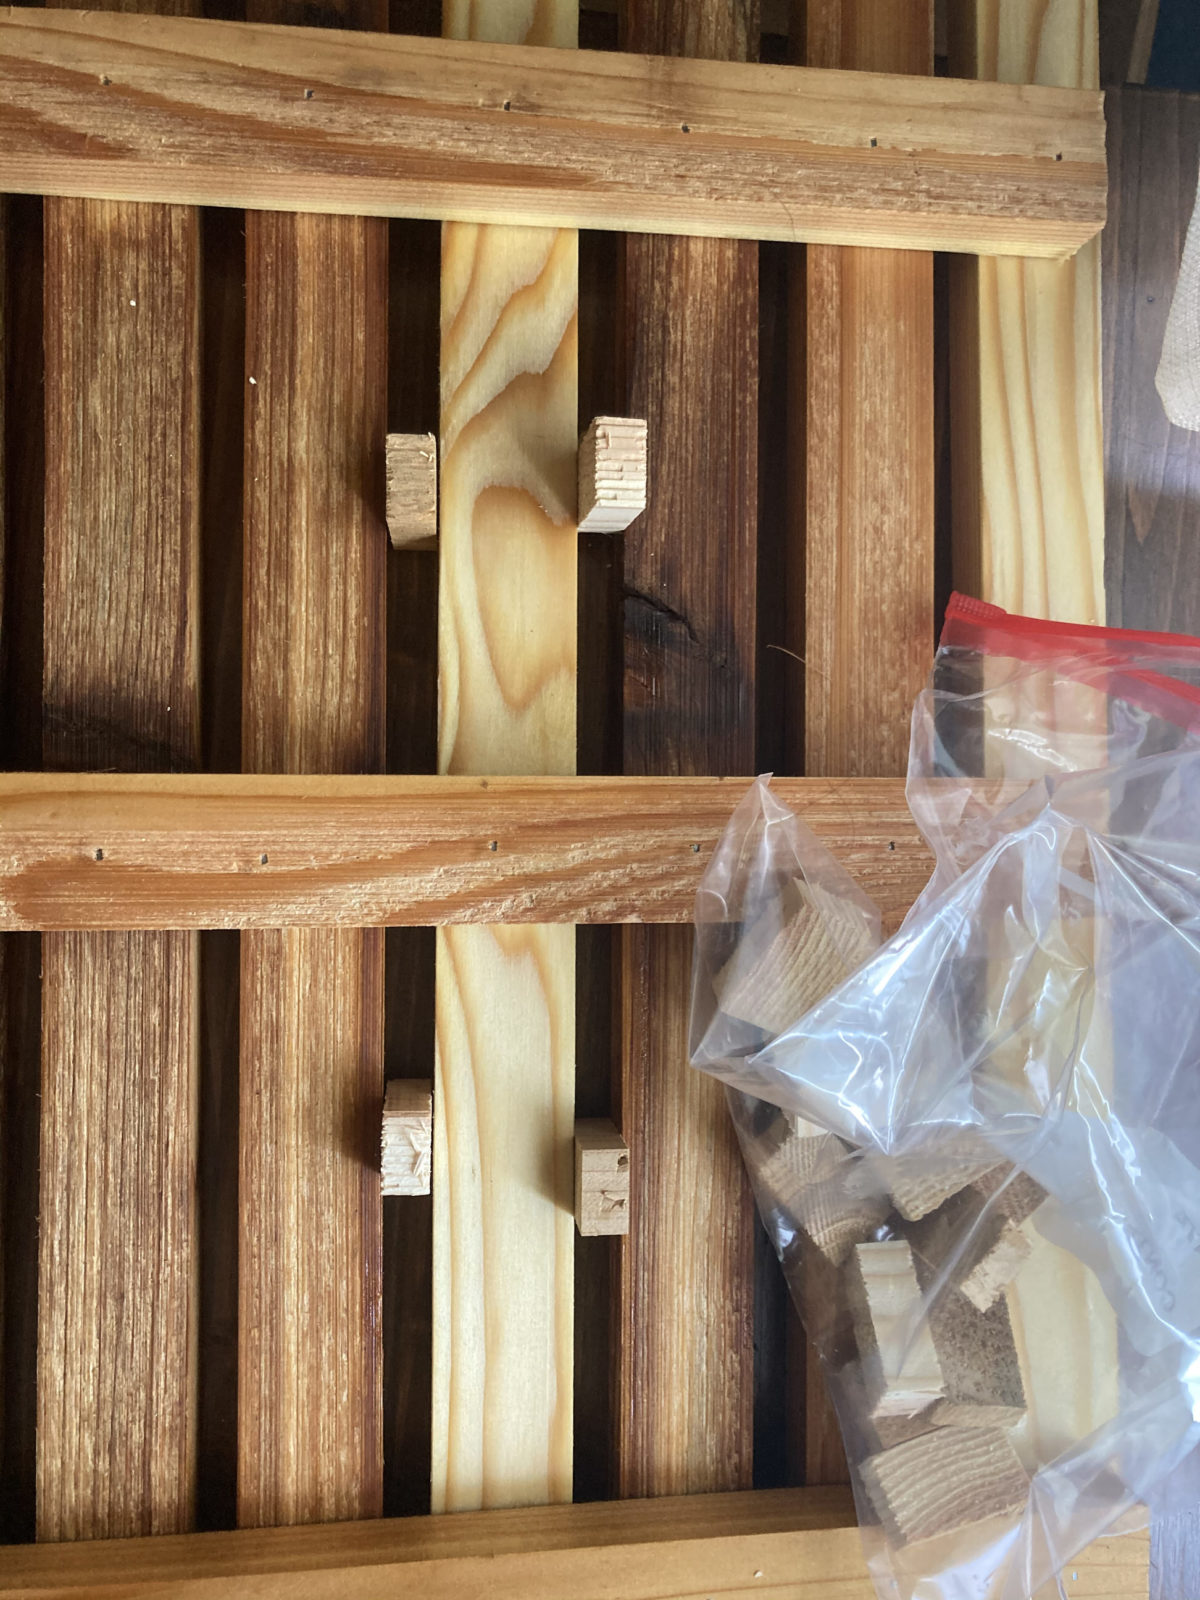
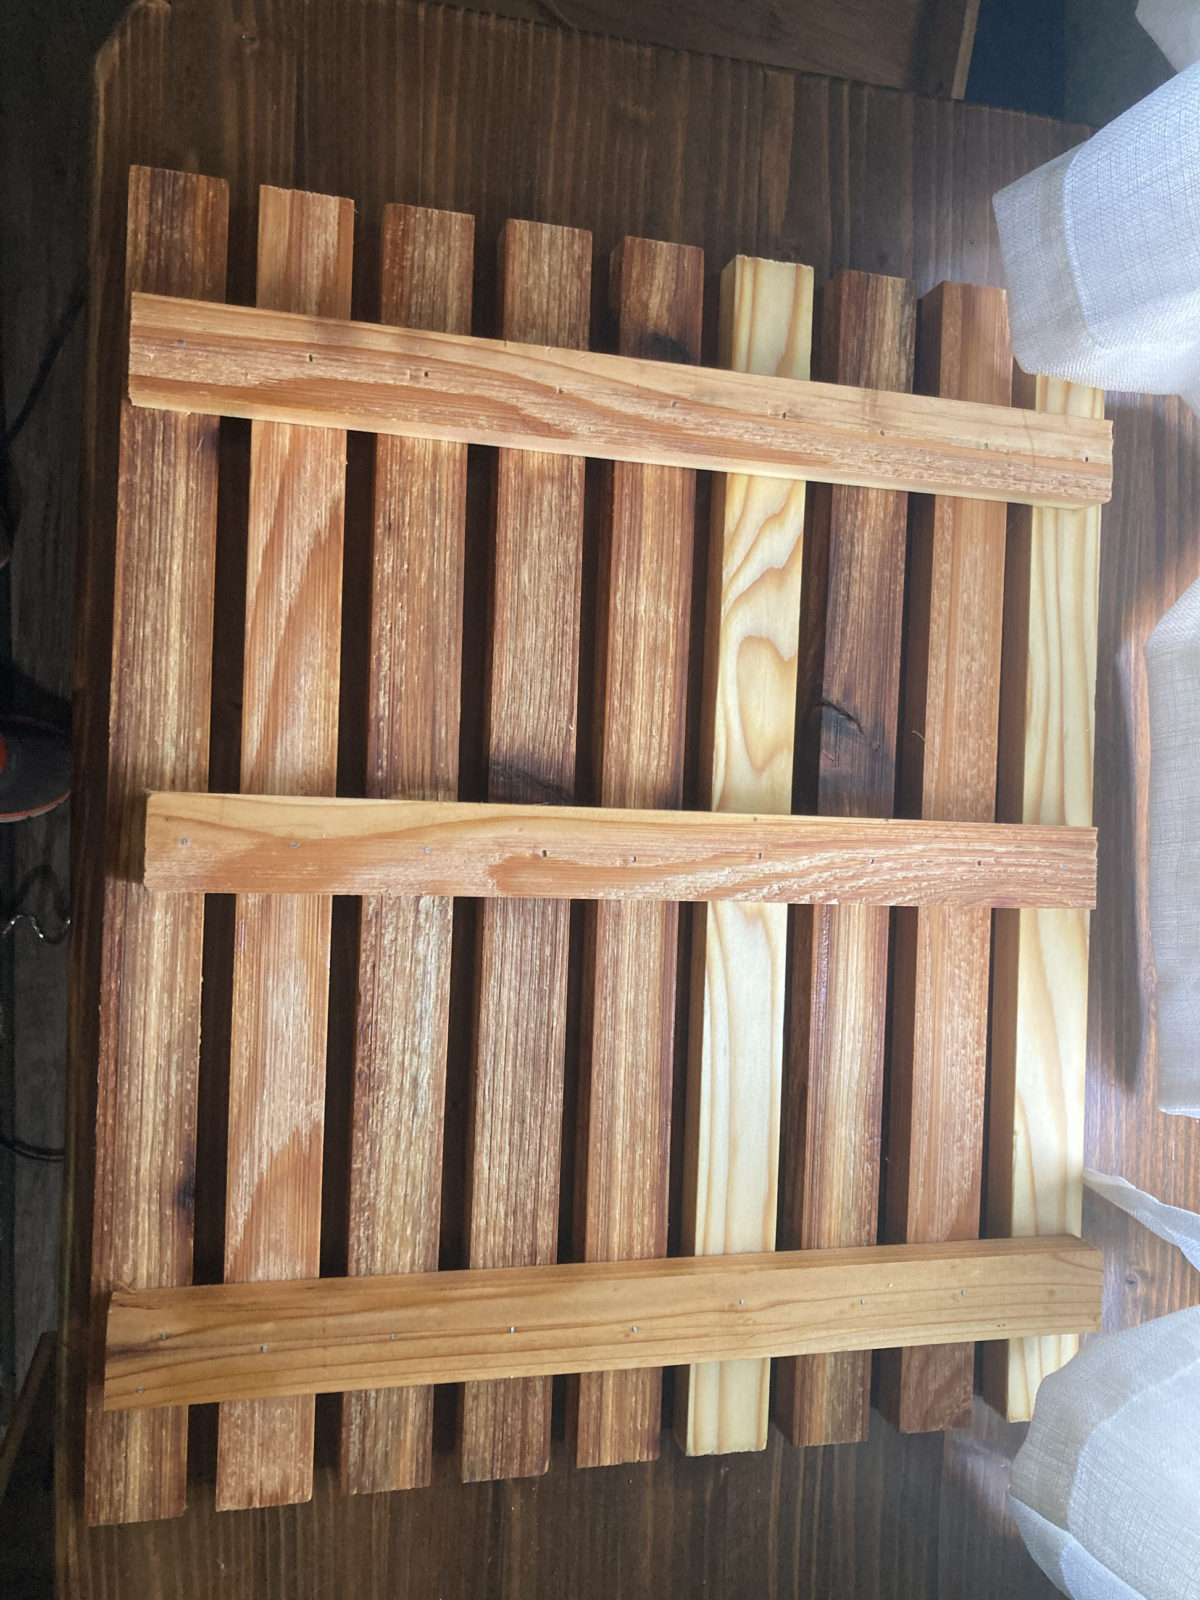
Then I sanded the wood planks and used a miter saw to make little 5-inch spacers to put in between planks. After that, I flipped the wood planks pretty side down and spaced them out using the spacers. Then added the three additional back planks and used wood glue to glue them down. After that dried, made sure it fit still in the Scamp.
Then used nails and nail compressors to secure the wood planks in, sanded again, and used the teak oil and let it dry. So final height was 17” and my shower box was about 19” so I gave about 1” for each side for some breathing room

Most importantly, I then posted my accomplishments on social media for the glorification 😊


Comments Off on The Scamp Chronicles 2