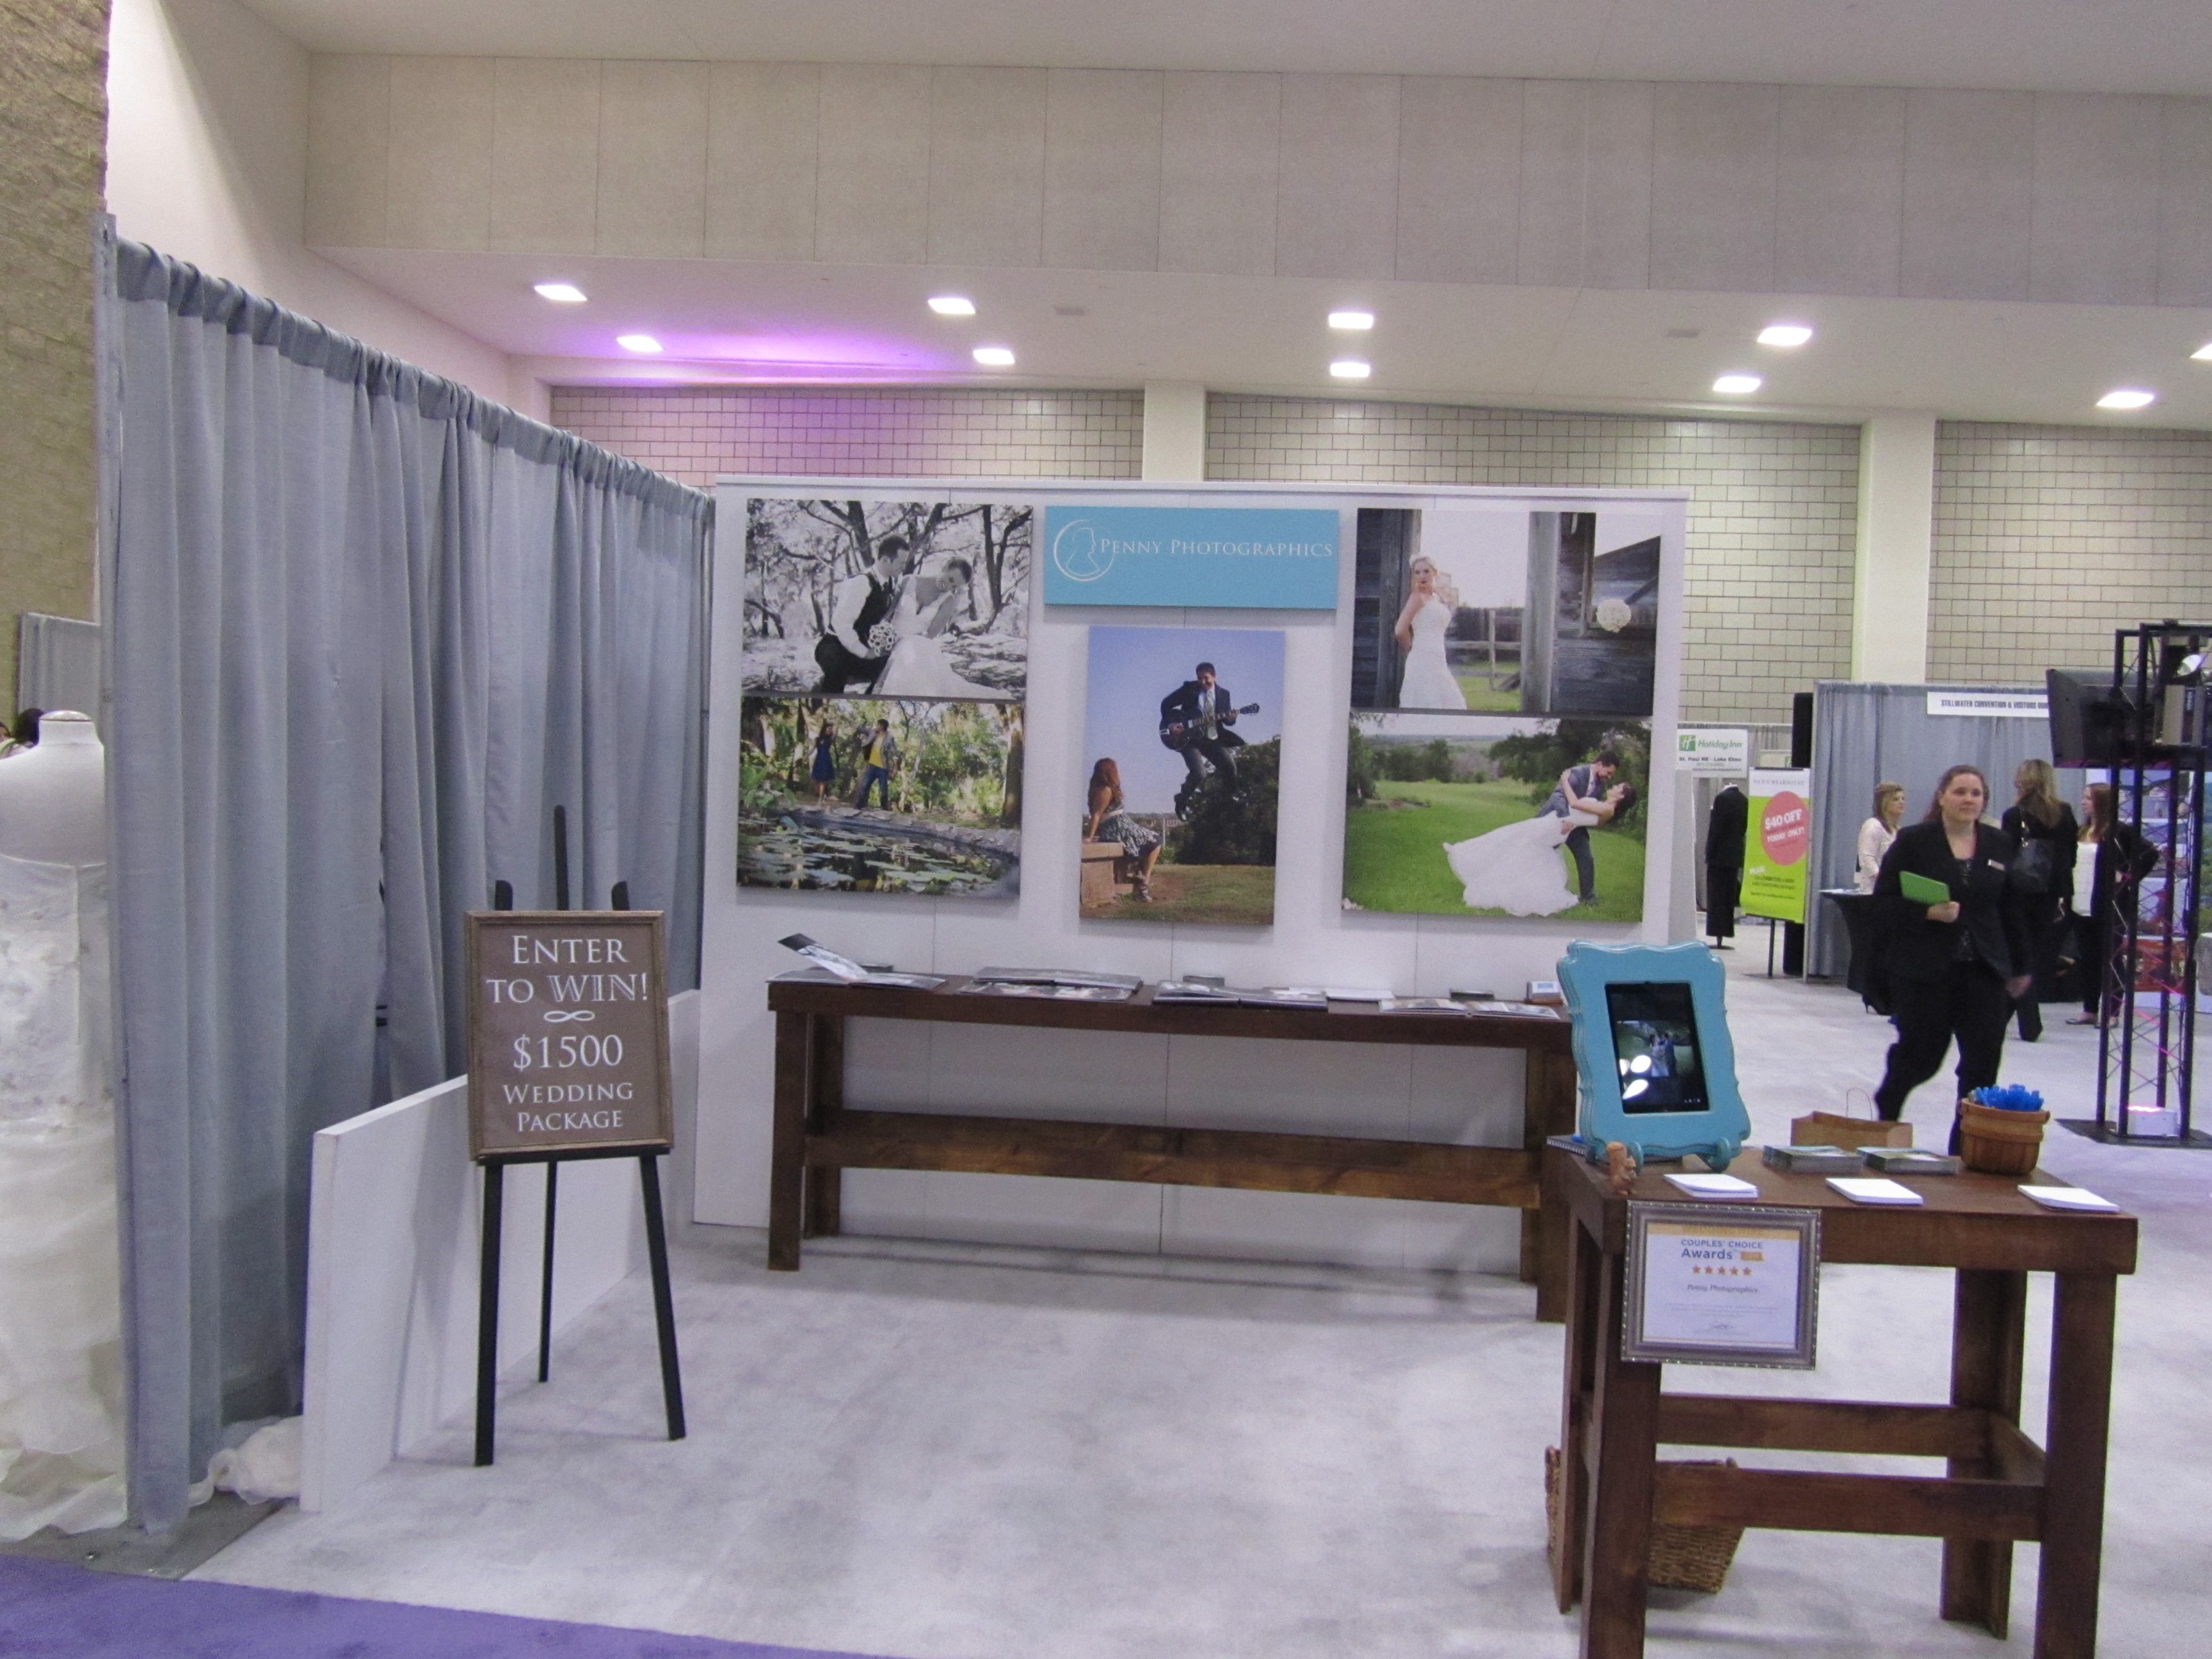
Hello my fellow photographers! I hope you are feeling well-rested, with a pet at your feet and a mug of coffee in your hands. Today, we’re finally putting out a bridal booth set up blog. It’s been a long time coming, and we hope it is useful 🙂
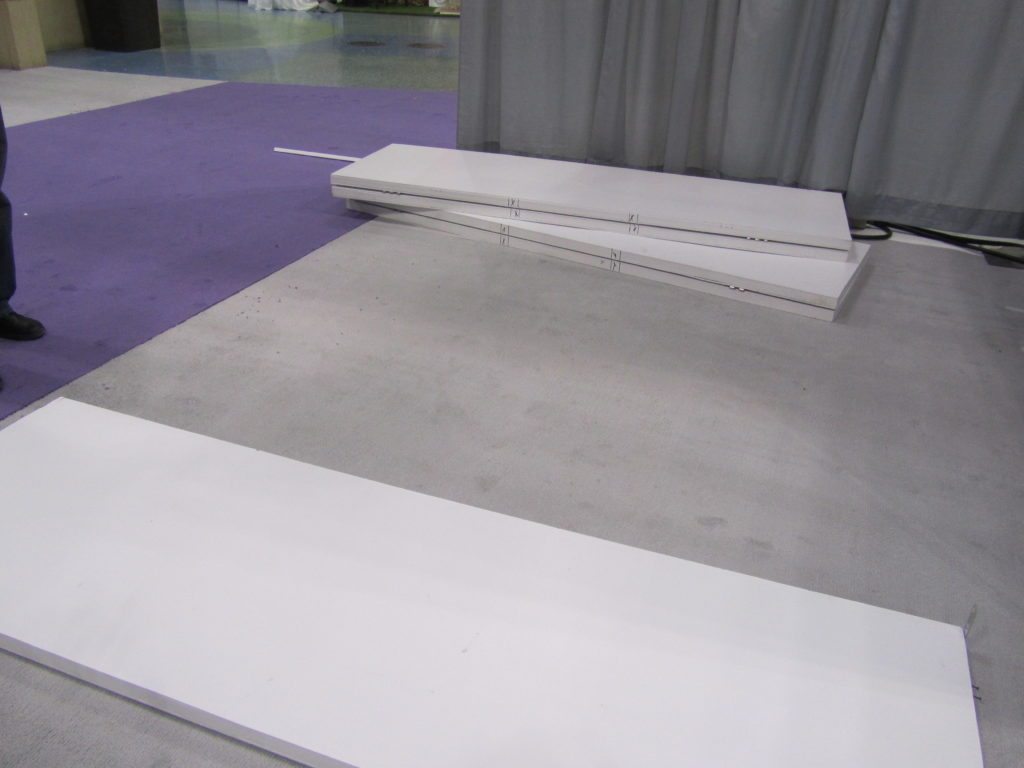
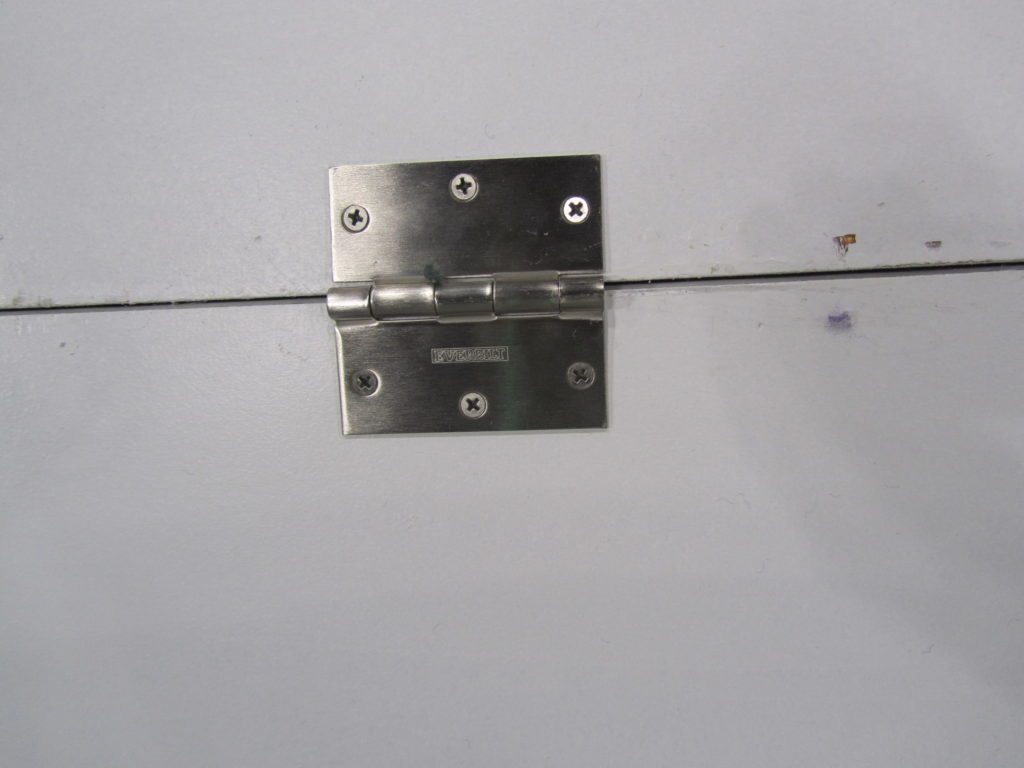
So: we have four panels total. Each two-panel set are hinged together using basic hinges. They are hinged on the back so that when you open the panels, they are flush.
These panels are essentially doors. We had them custom-made by reaching out to local handyman on Craigslist. You can also order custom-sized doors from Home Depot or Lowes, or consult other sites like Etsy, etc.
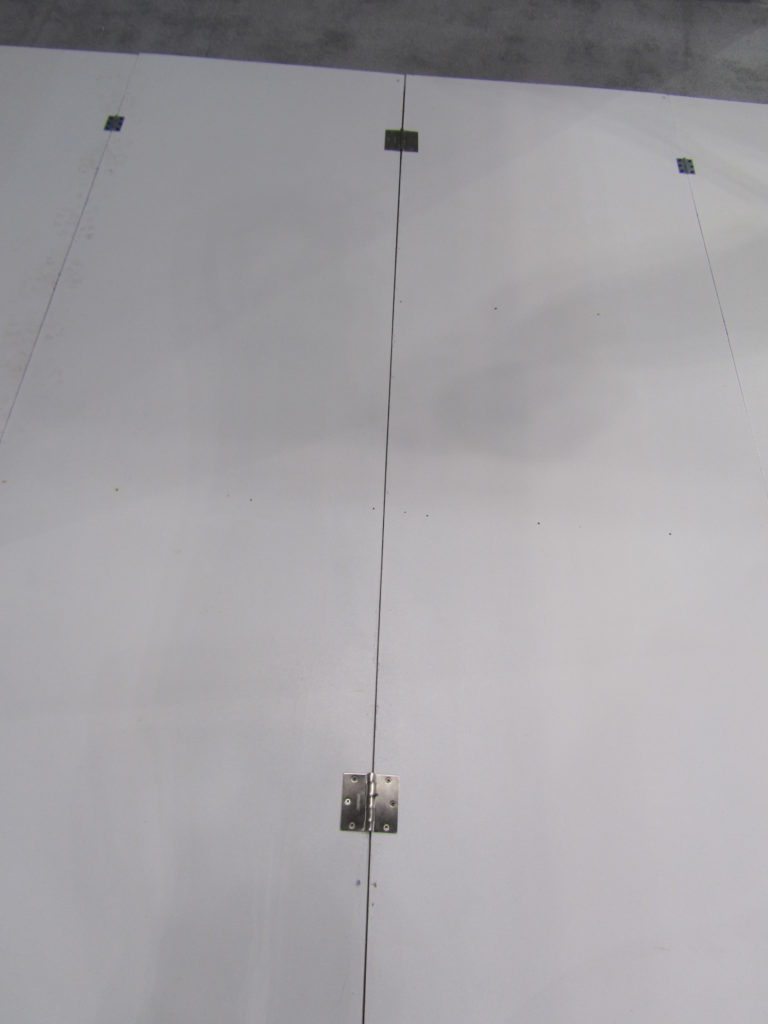
There’s also part of a larger 4″ hinge on the side of each two-panel section that lines up to connect the two-panel sections into a four-panel wall. 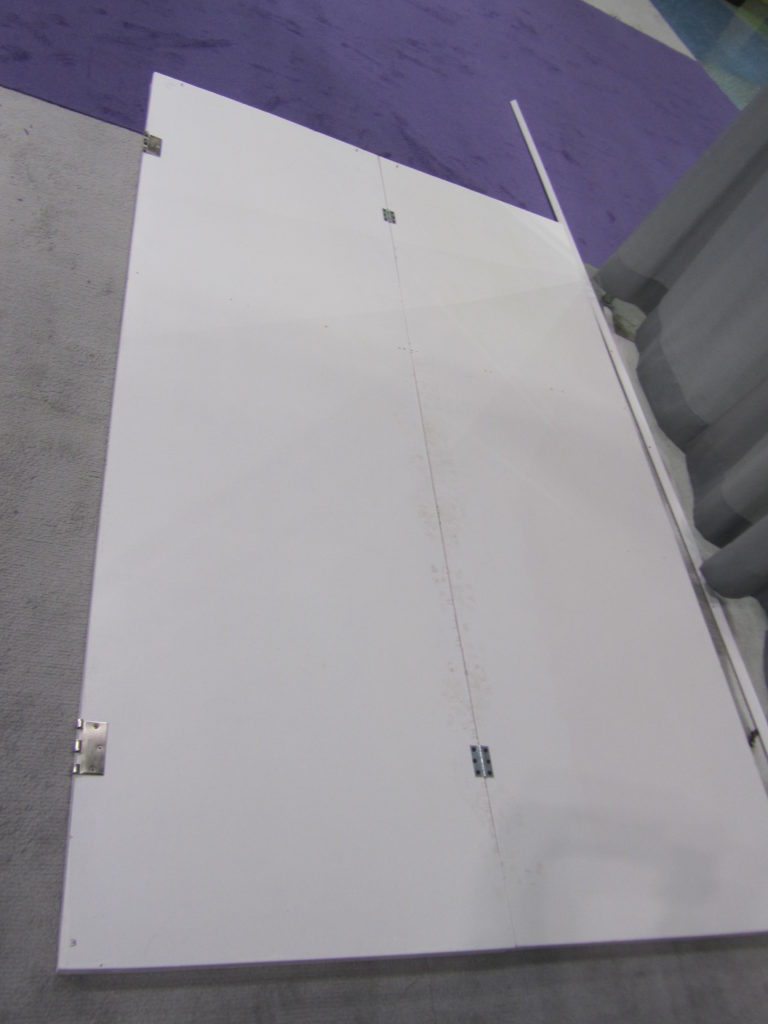
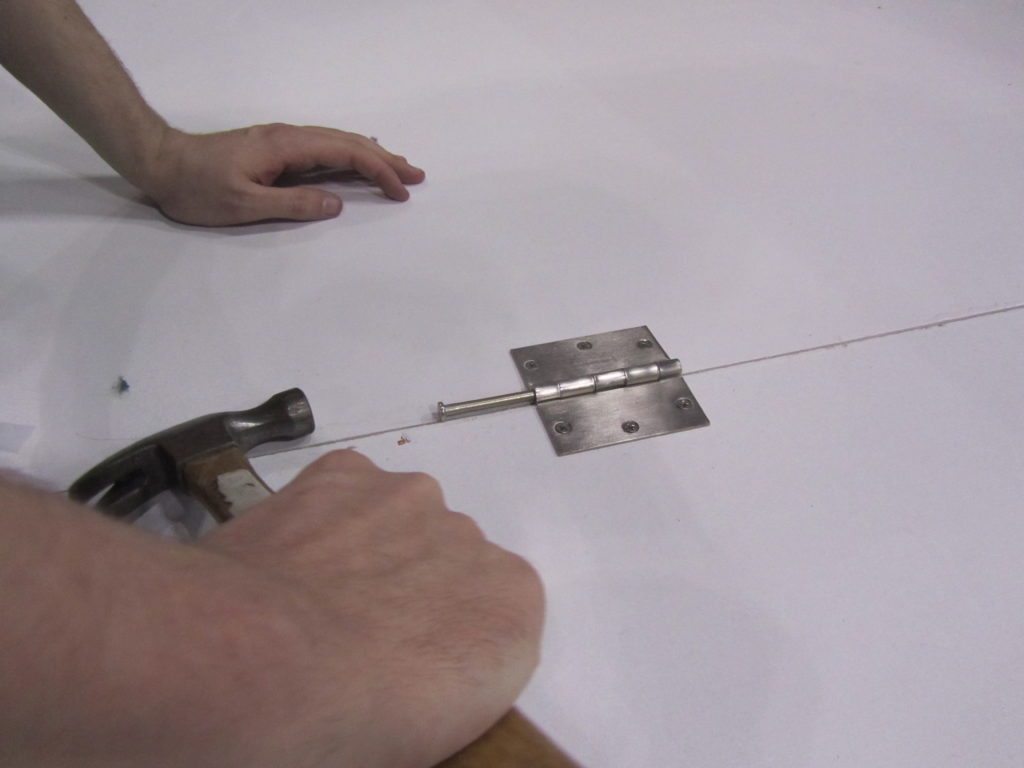
Each two-panel section is pushed together so that the hinge locks in place:
Then you can easily add a pin to the hinges and secure the wall!
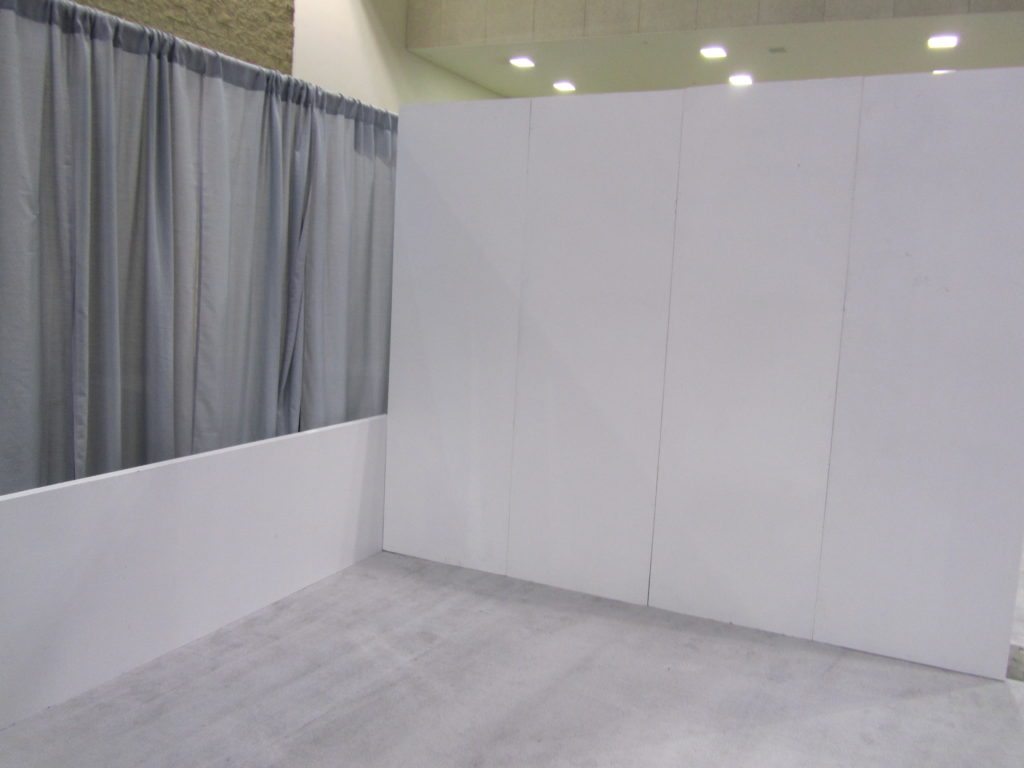
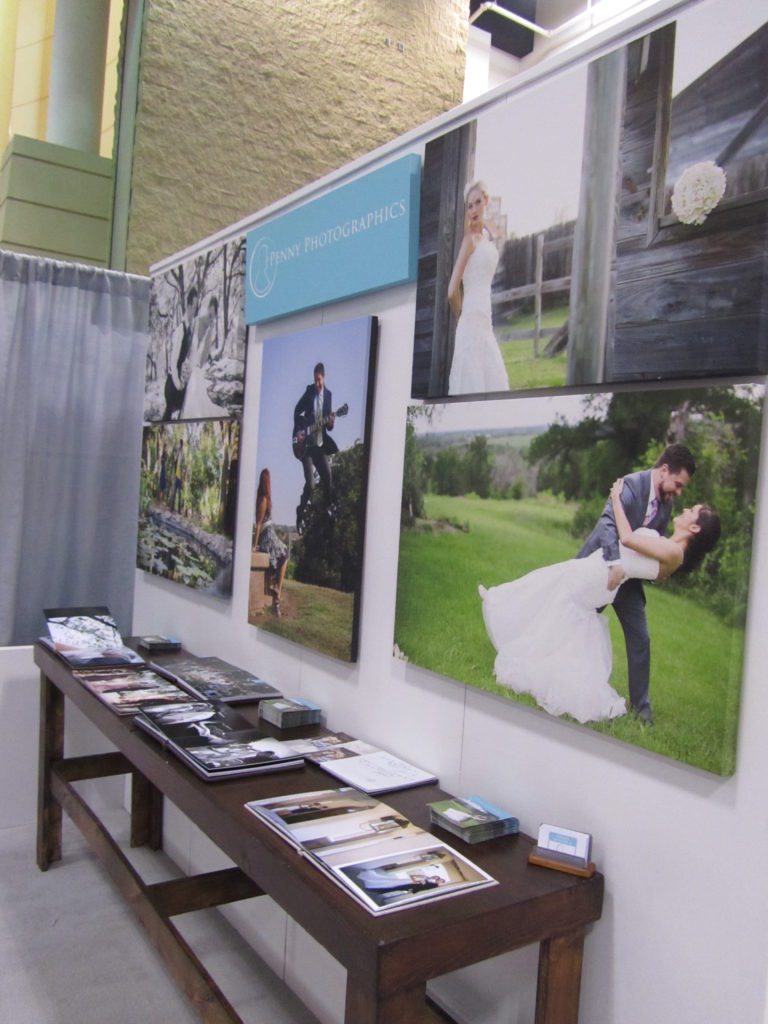
After that, all four panels should be locked together. We then stand the wall up, and with one of us holding it in place, we attach the smaller side panel. You can see the side panel here below the curtain trim.
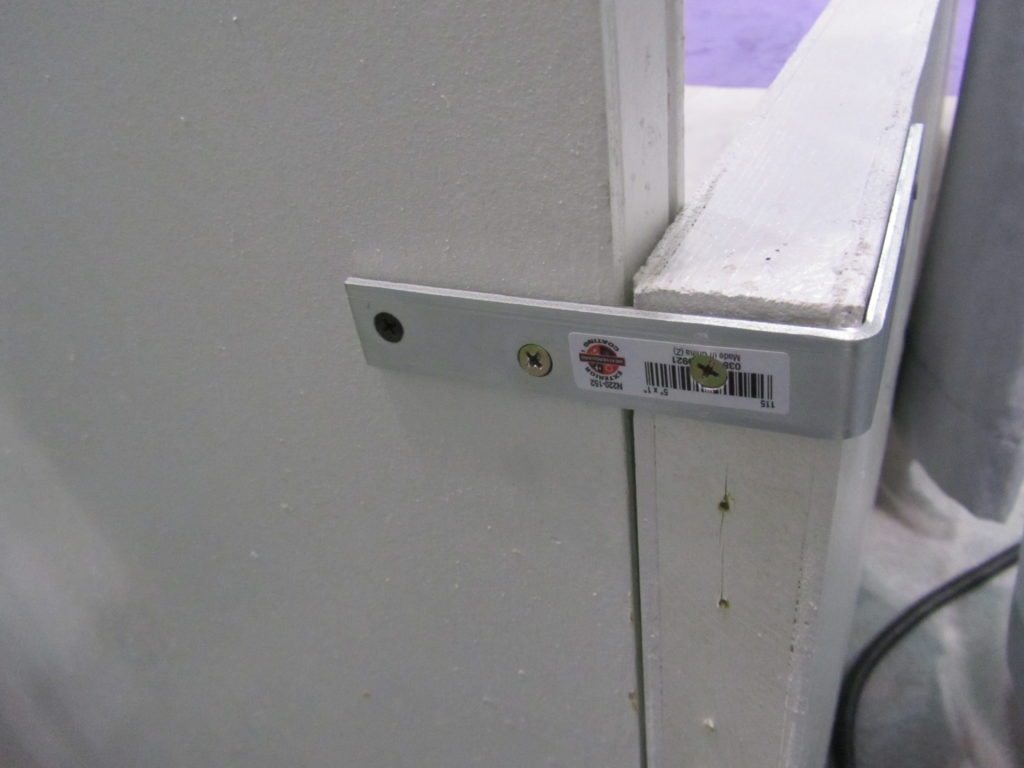
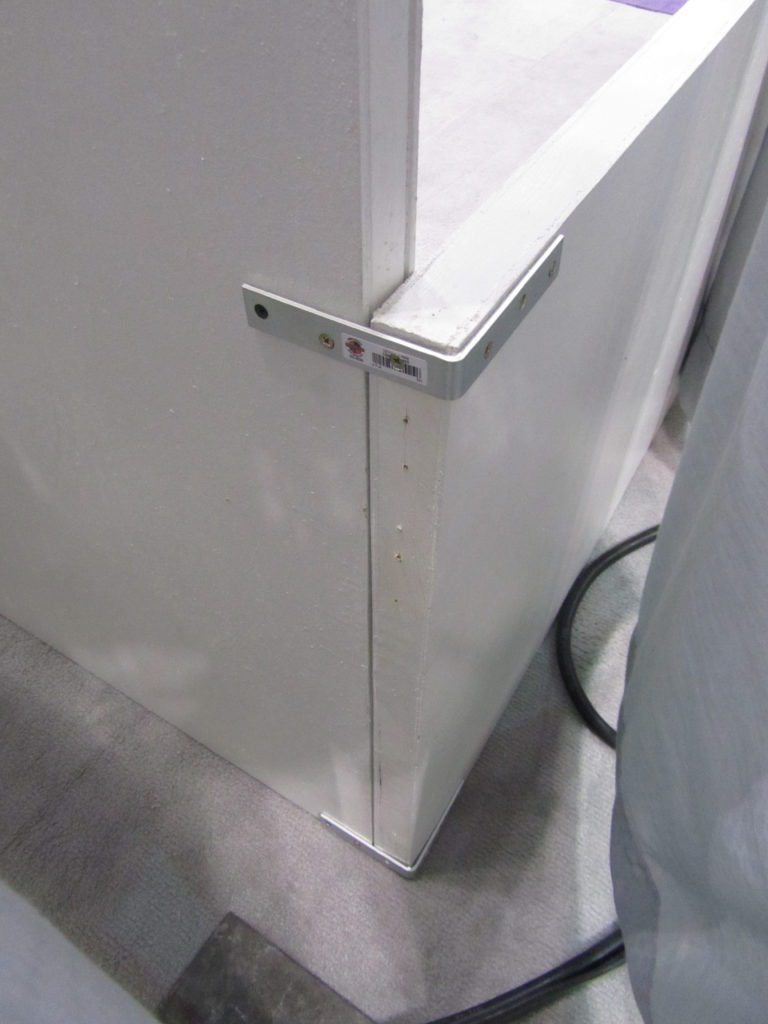
Using this little L-shaped bracket, we secure the side panel onto the four-panel wall at both the top and the bottom.
We also added a small piece of trim along the top of the four-panel wall as a stylistic choice. It’s drilled in to create a cleaner line. You can see it in the shot below:
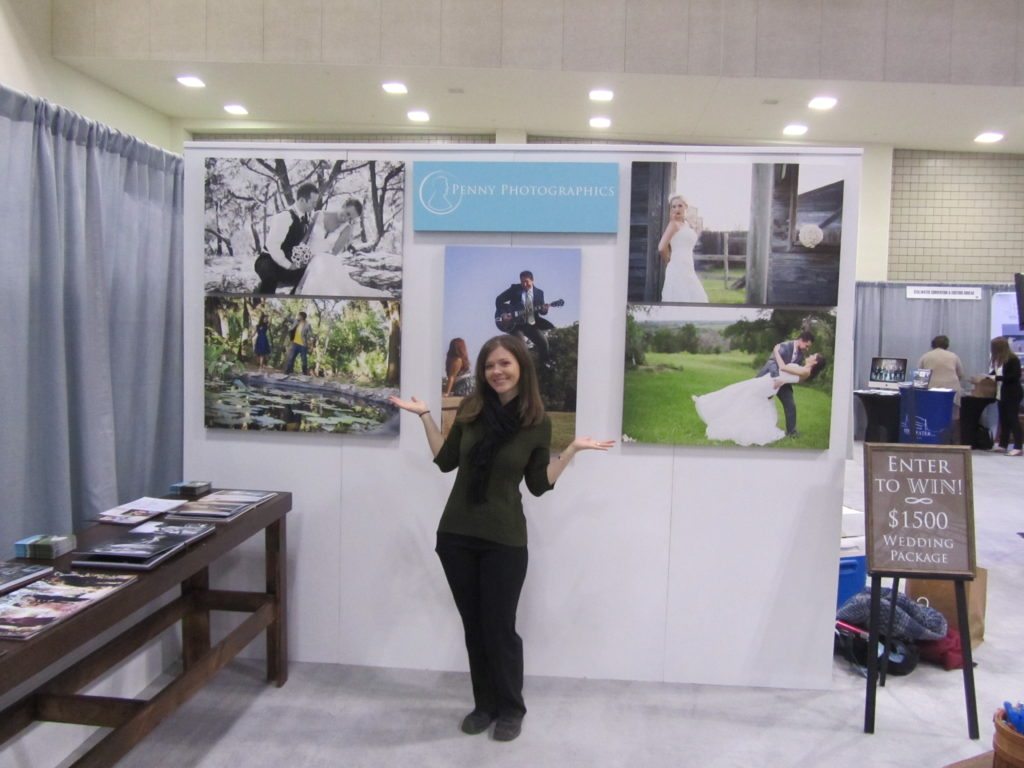
Ta da!
Hope this helps!
Thanks for strolling through this bridal booth set up with us. Check out our blog on self-care for wedding photographers (yes, we all need it!), and leave us a comment below so we can connect!
Be the first to comment